Using Automated Defect Analysis on IFM Images
This tutorial is to demonstrate how to perform an automated defect analysis on IFM images.
To execute the analysis, there need to be three NOMAD entries present:
- an IFM Measurement type entry with associated microscopy file
- two IFM Model type entries, each with the respective
.kerasmodel file
Depending on your knowledge and on which entries you have already present, you may jump ahead to the IFM Analysis subsection.
Uploads
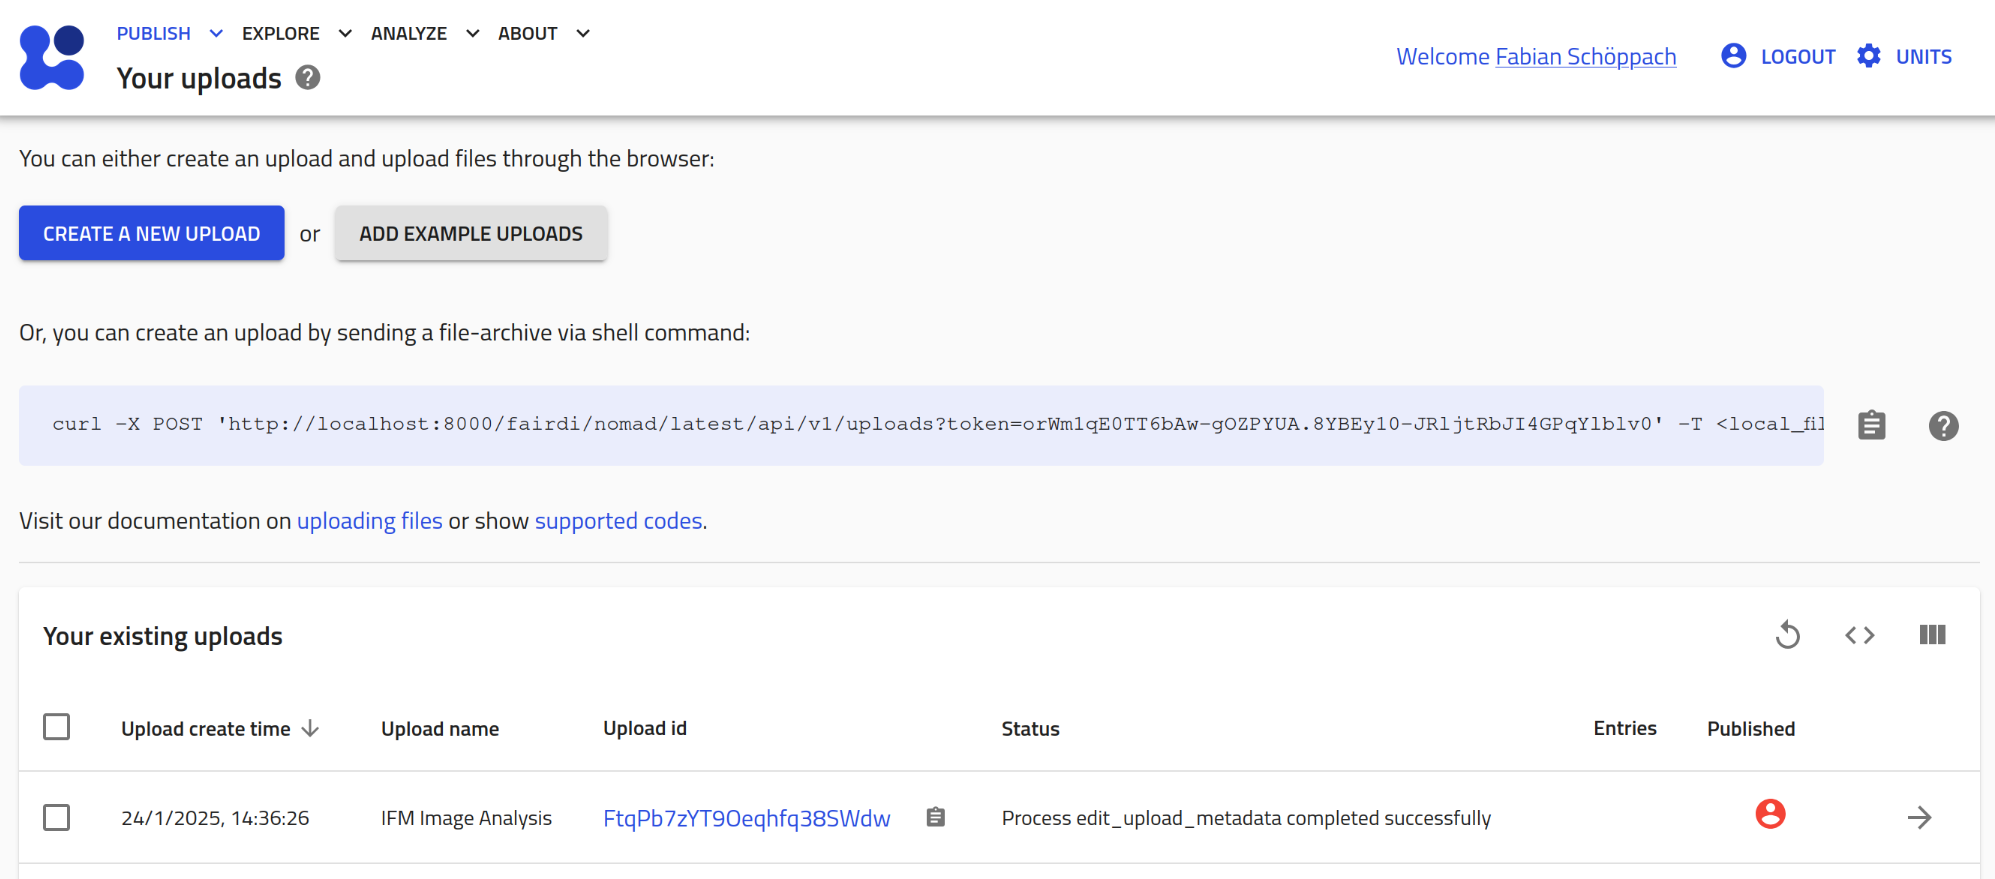
- NOMAD Uploads page:
Navigate to your Uploads page, reachable underPUBLISH > Uploads. - Enter upload:
You might need to create a new new upload using or edit an existing one.
IFM Measurement Entry
- Create a new entry:
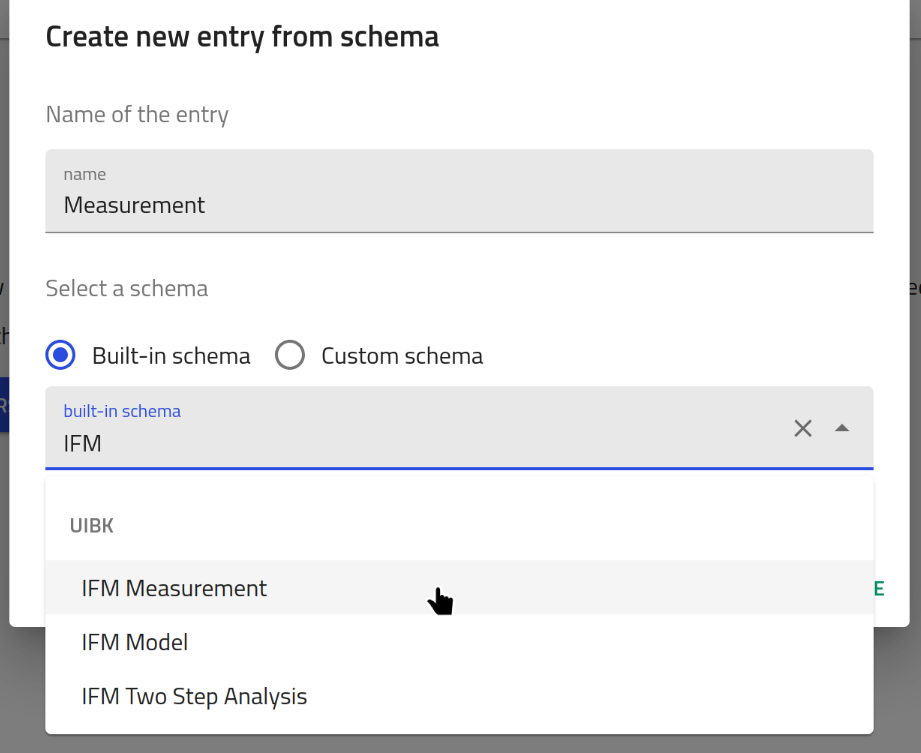
Create a new entry via the buttonCreate from Schema.
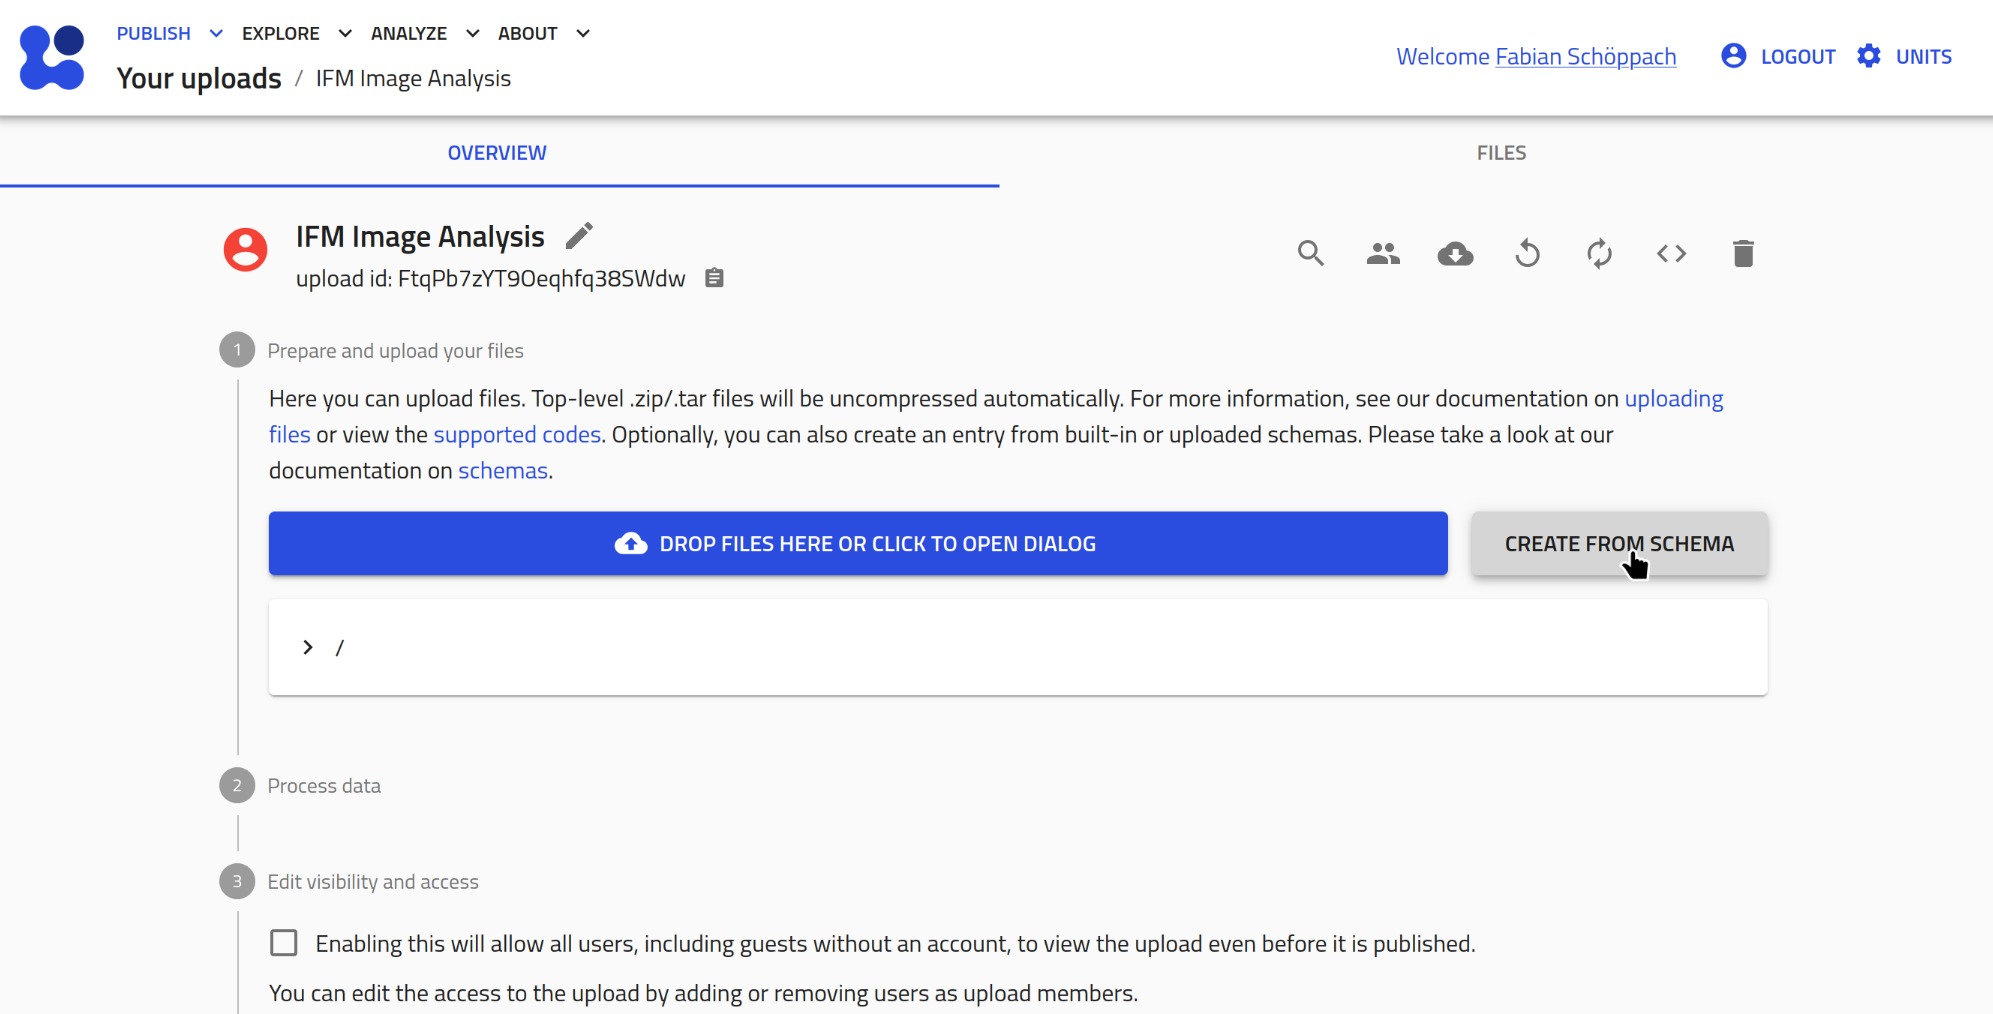 Give it a name and select
 IFM Measurementas type.
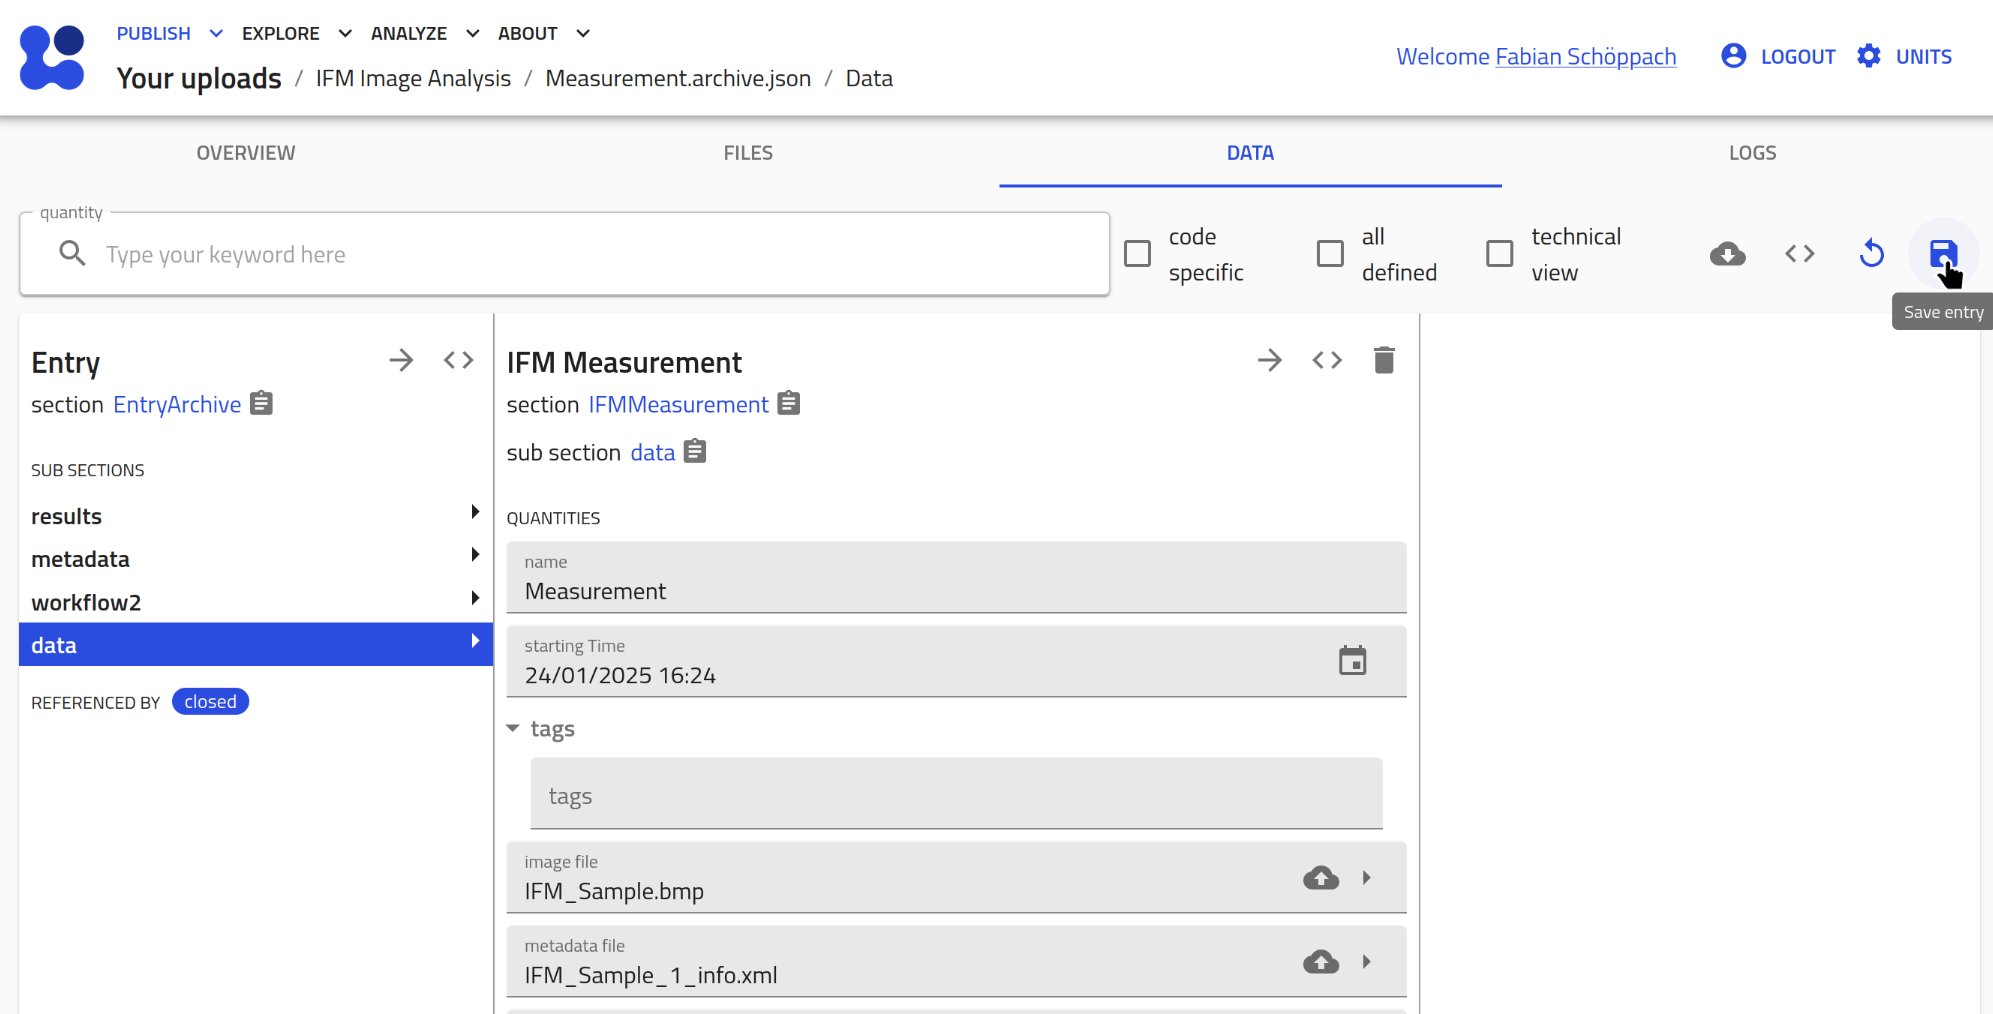
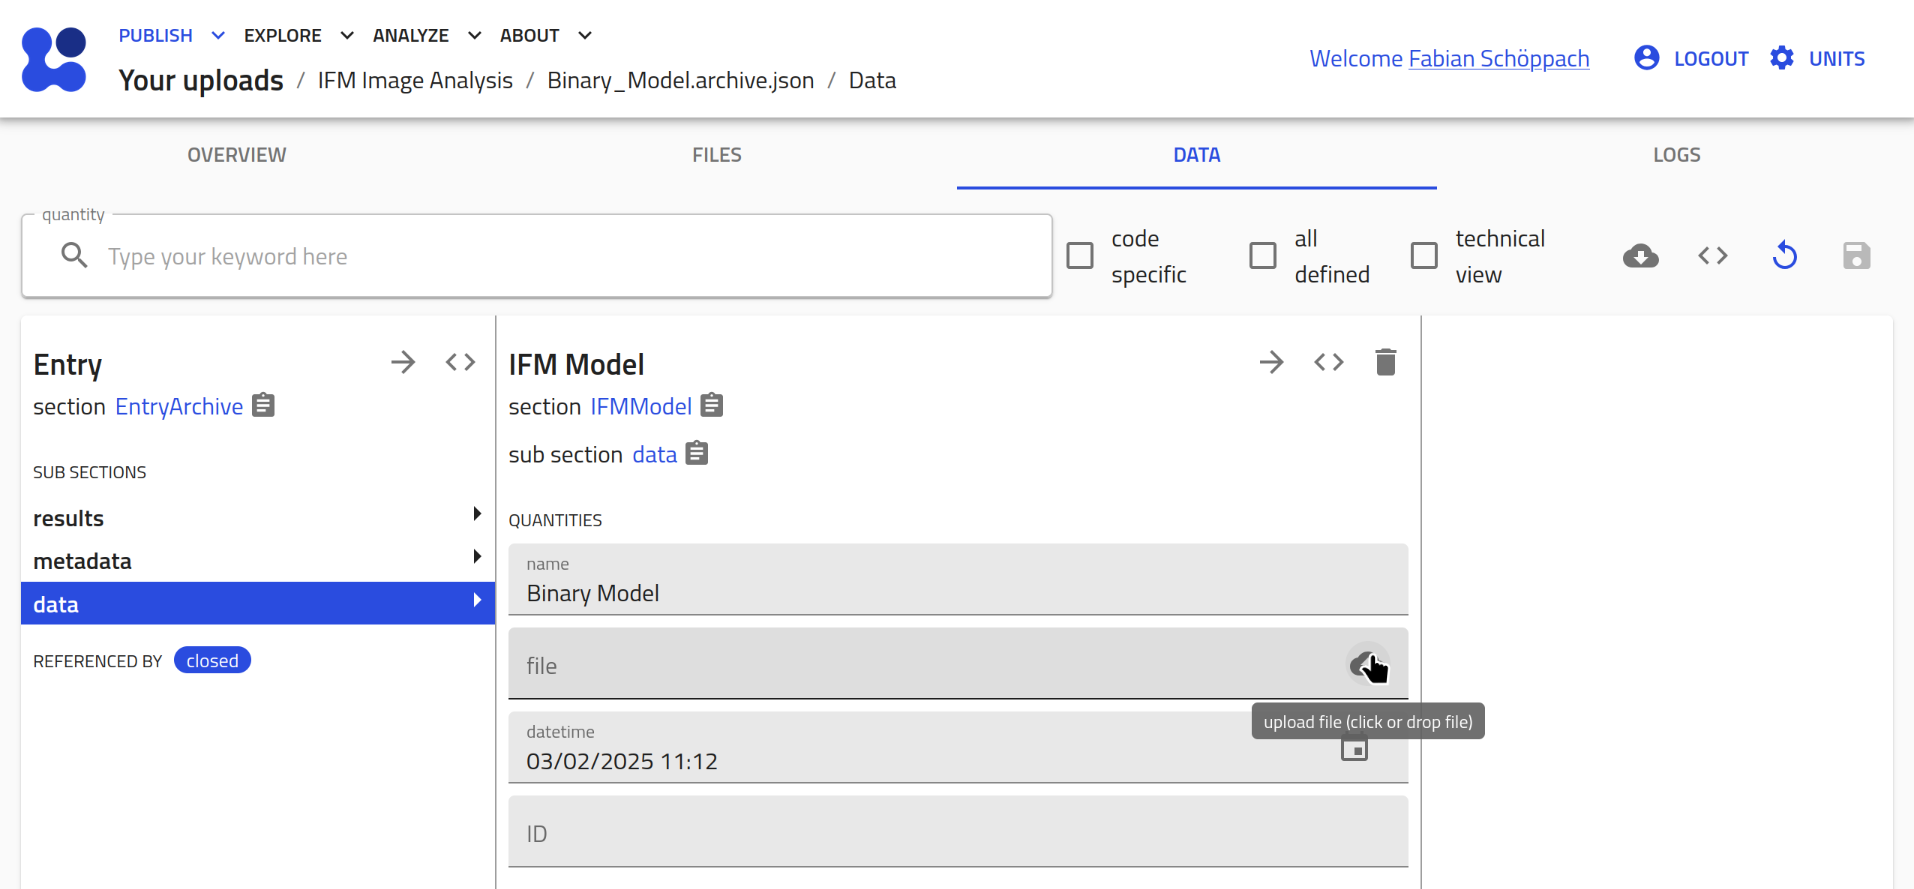
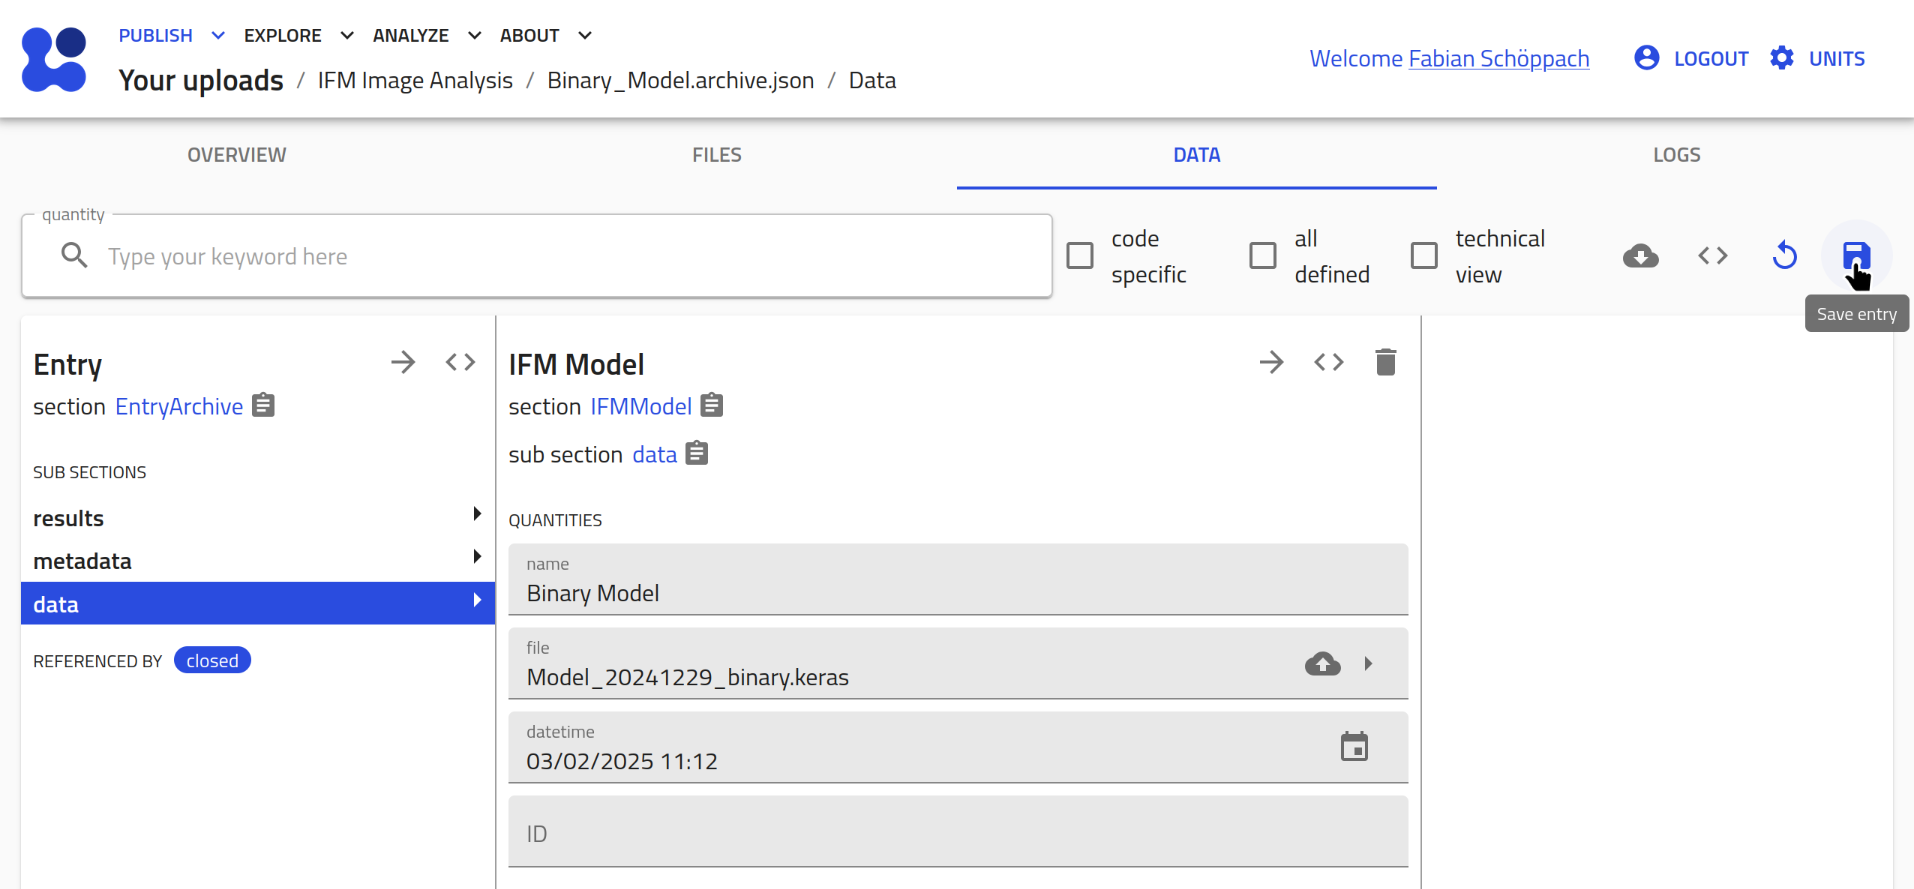
- Assign the measurement files:
You should now see the data section of the created entry. Assign an image and a metadata file.
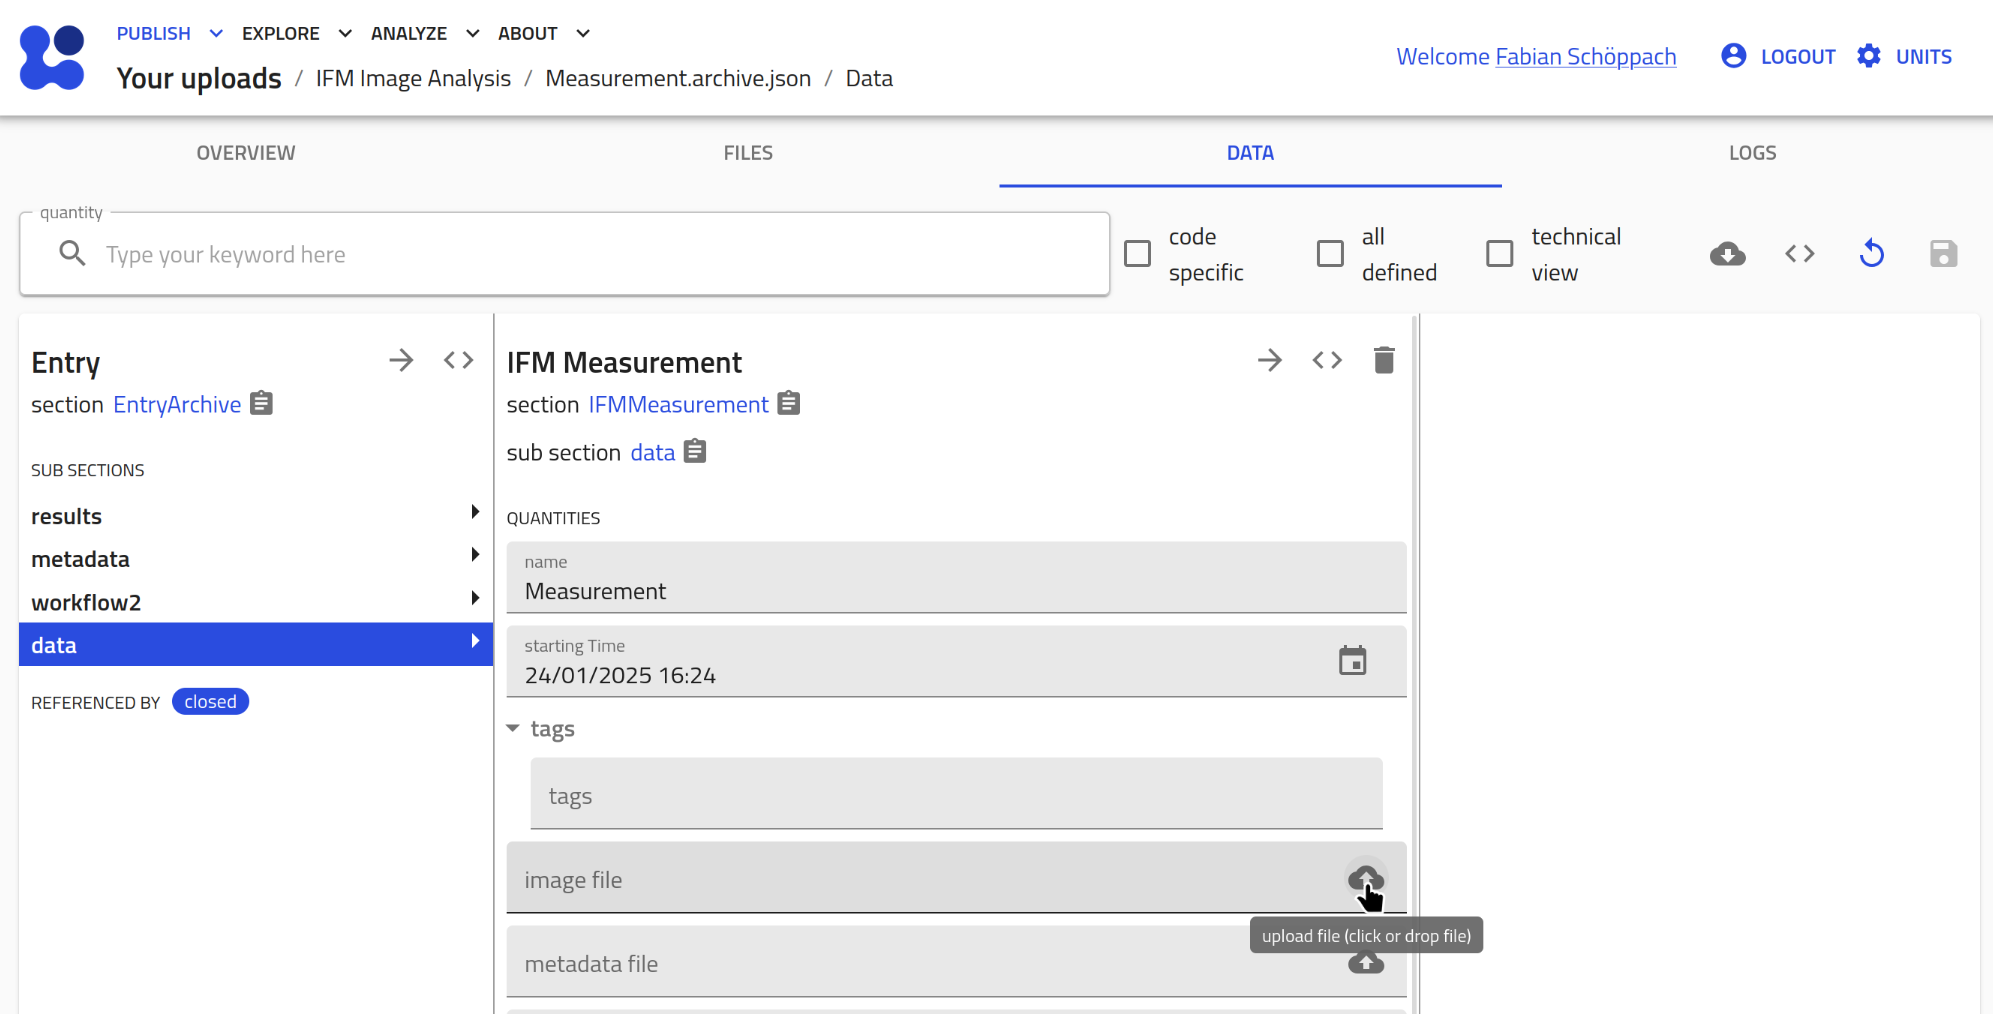 Don't forget to click the save button in the top right corner afterwards!
-
Automated XML Parsing: As soon as a XML file is assigned, the plugin extracts metadata from it, such as:
- exposure time
- start and end time
- magnification
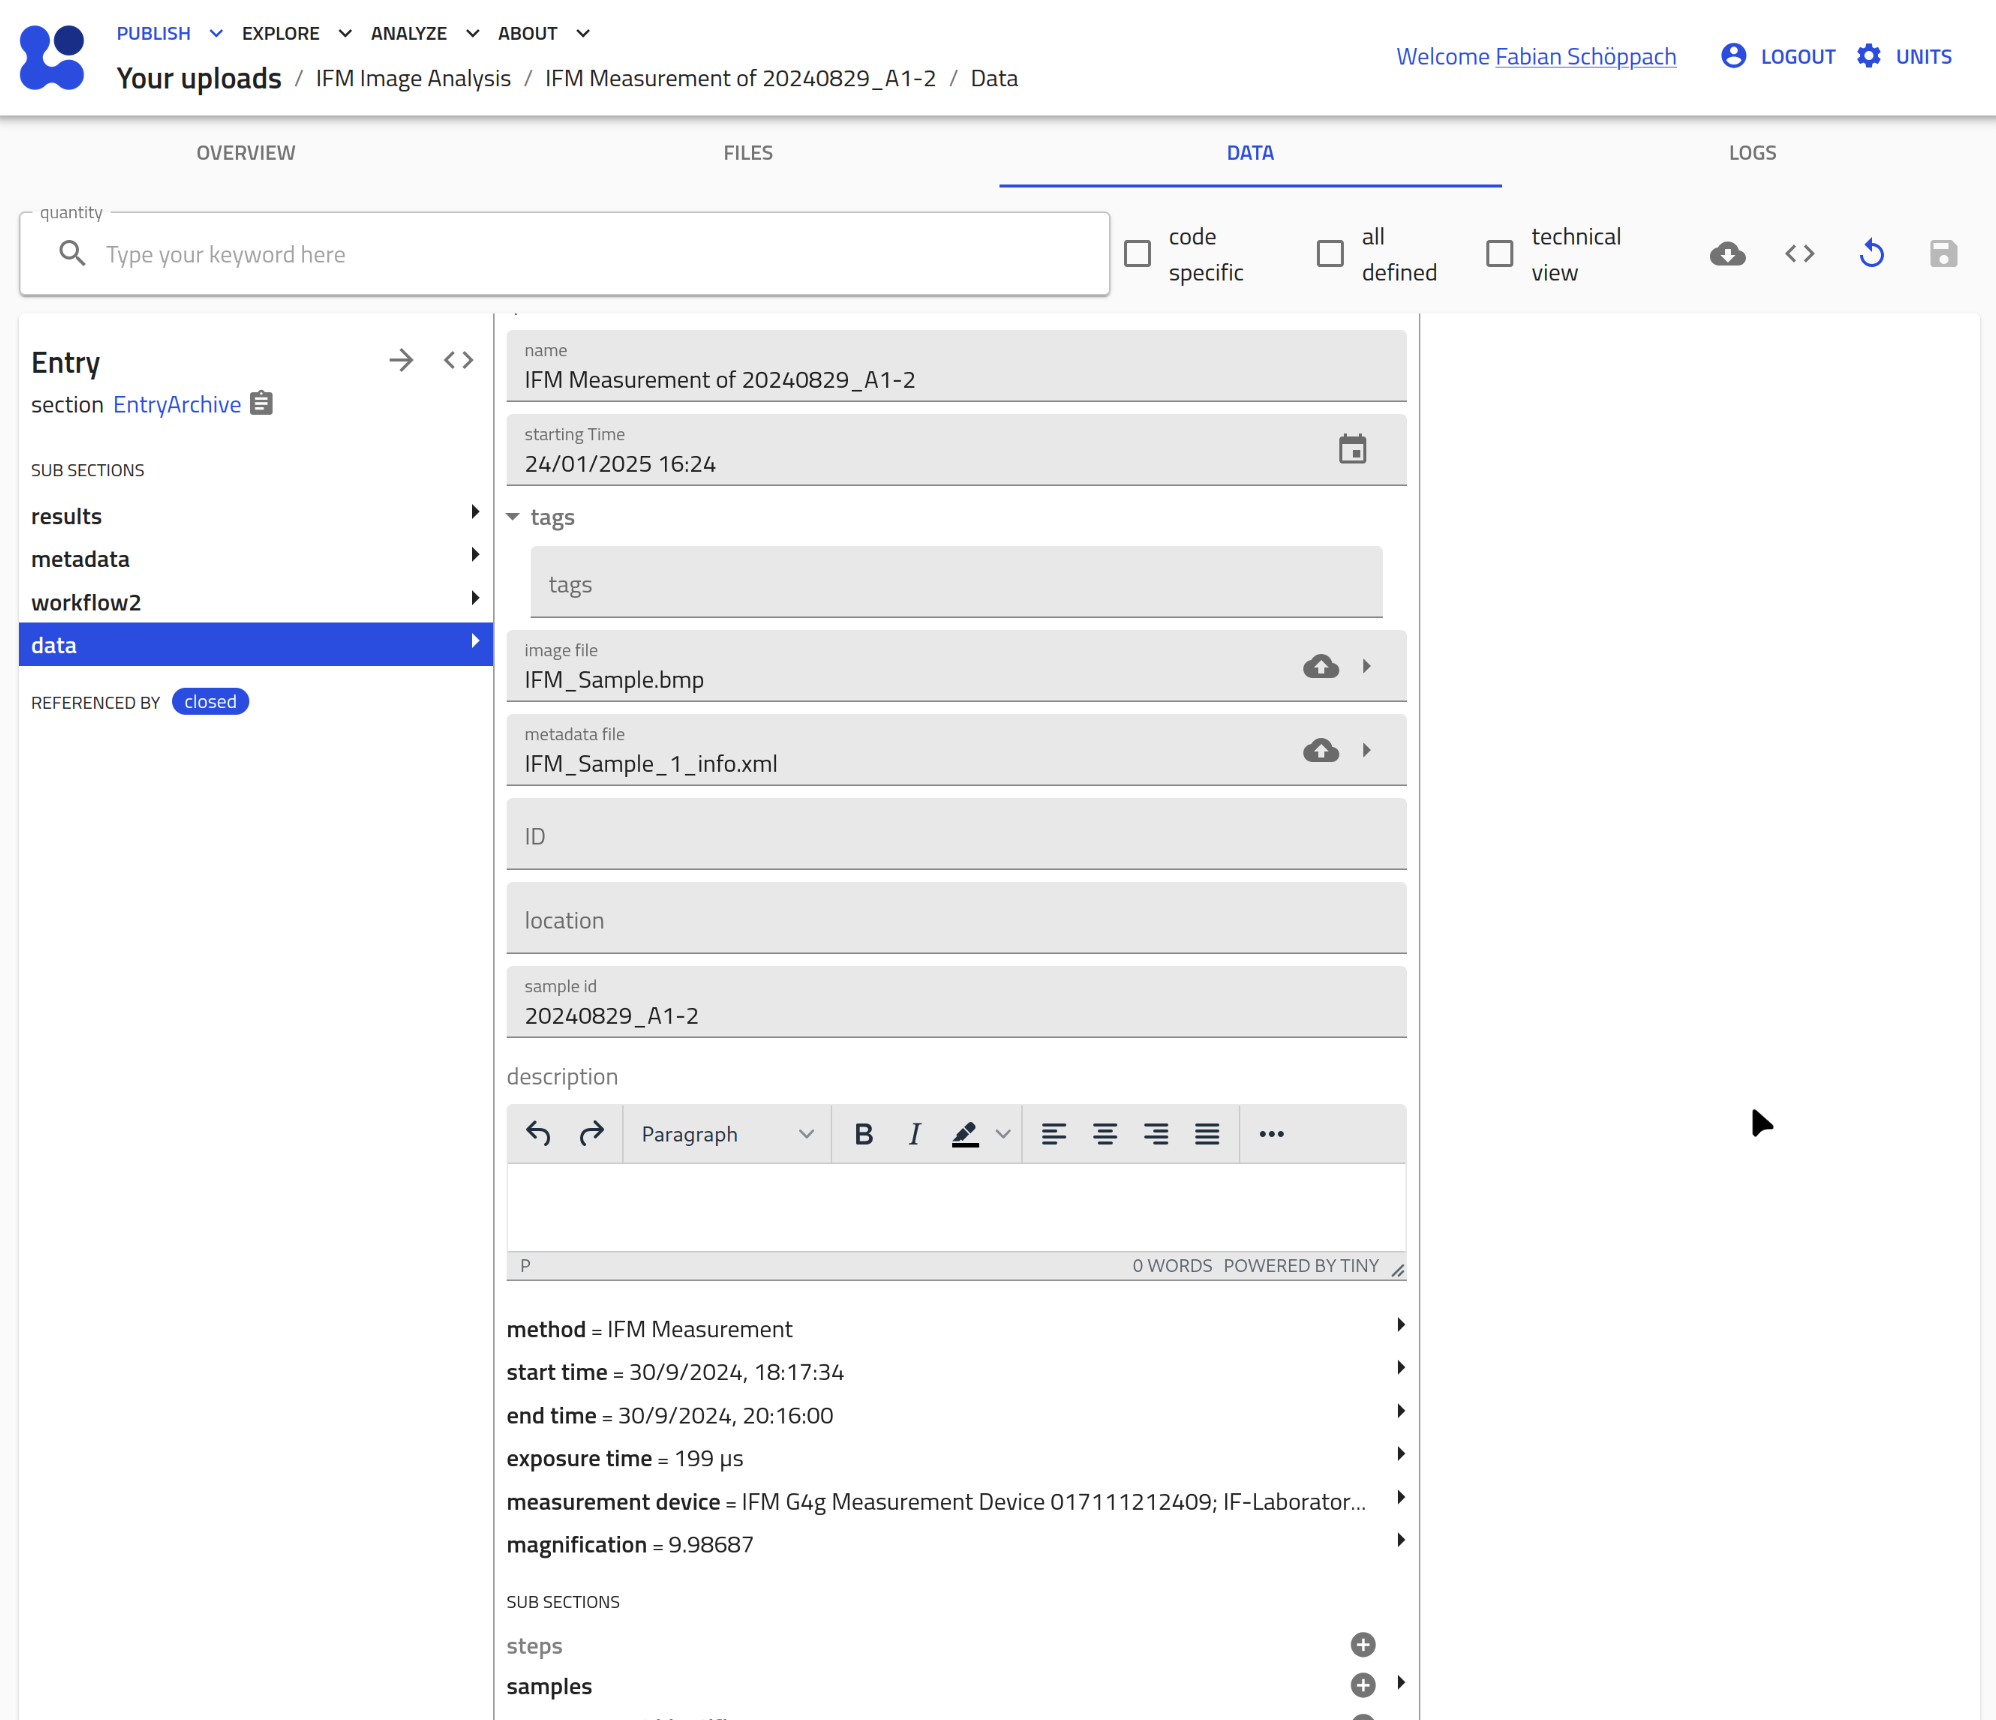 If you have a
 UIBKSampleentry already present with the samelab_idas extracted from the XML file, the entry automatically creates a reference to it.

IFM Model
Perform the same steps as above for creating two IFM Model entries:
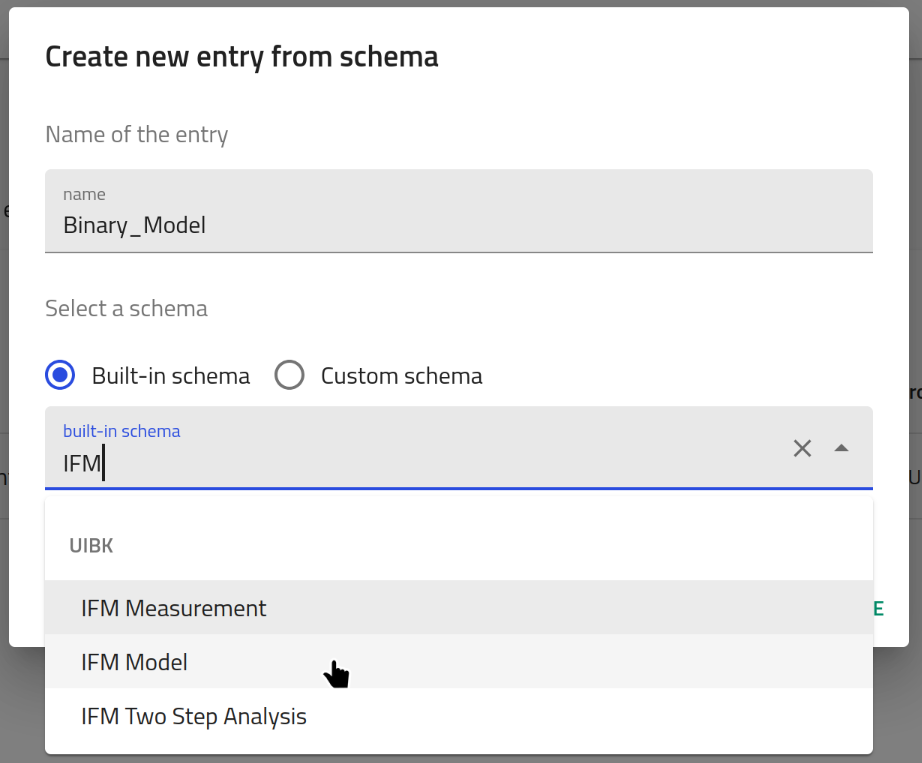
- Create a new entry:
Create a new entry via the buttonCreate from Schema.
Give it a name and select IFM Modelas type.
- Assign the measurement files:
You should now see the data section of the created entry. Assign an image and a metadata file.
 Don't forget to click the save button in the top right corner afterwards!
-
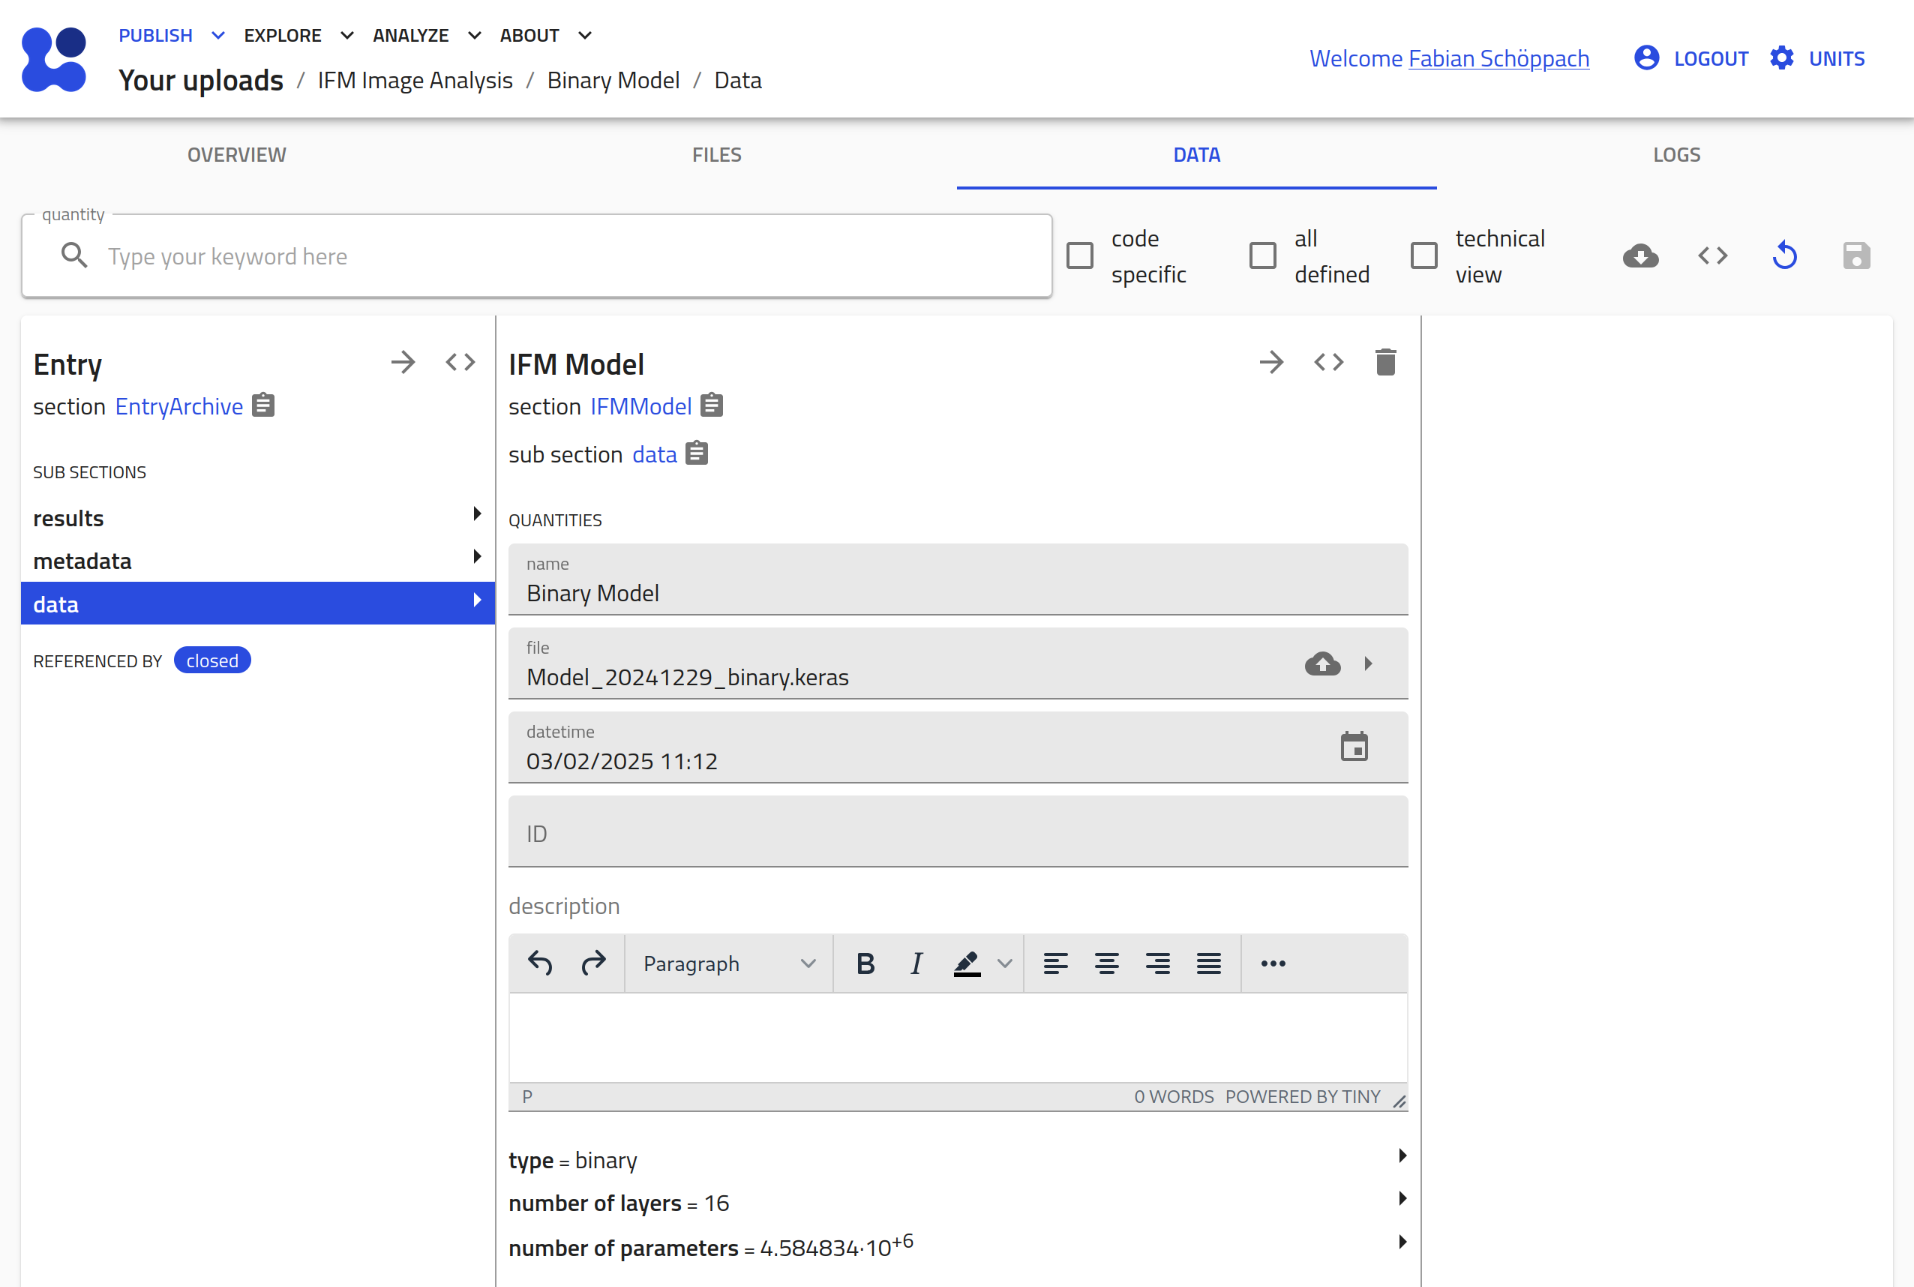
Automated Parsing: As soon as the
.kerasfile is assigned, the plugin extracts metadata from it, such as:- model type (binary/classification)
- number of layers
- number of parameters
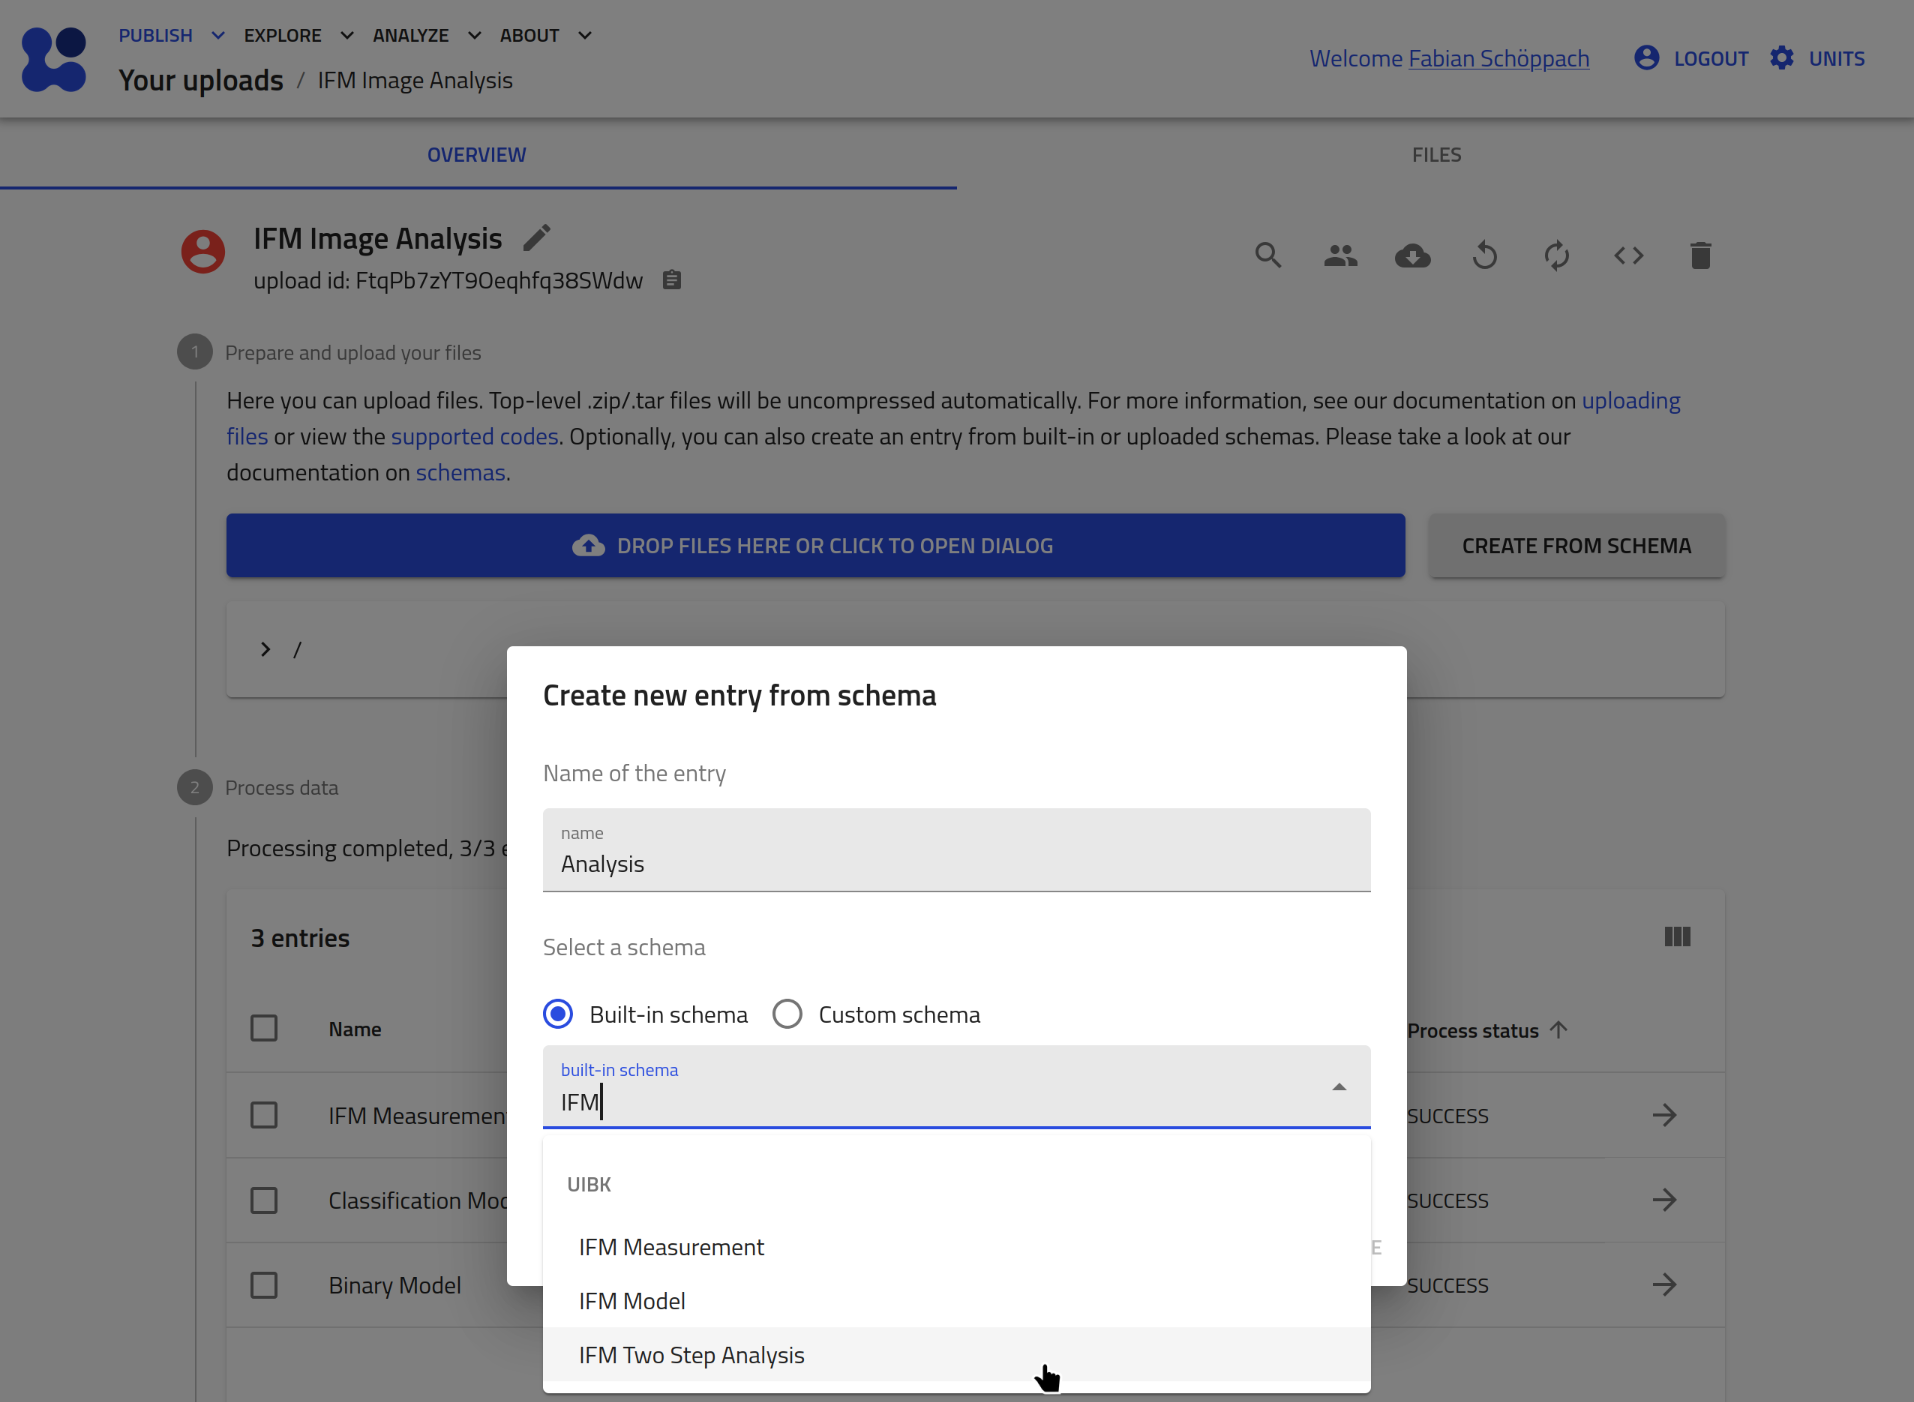
IFM Analysis
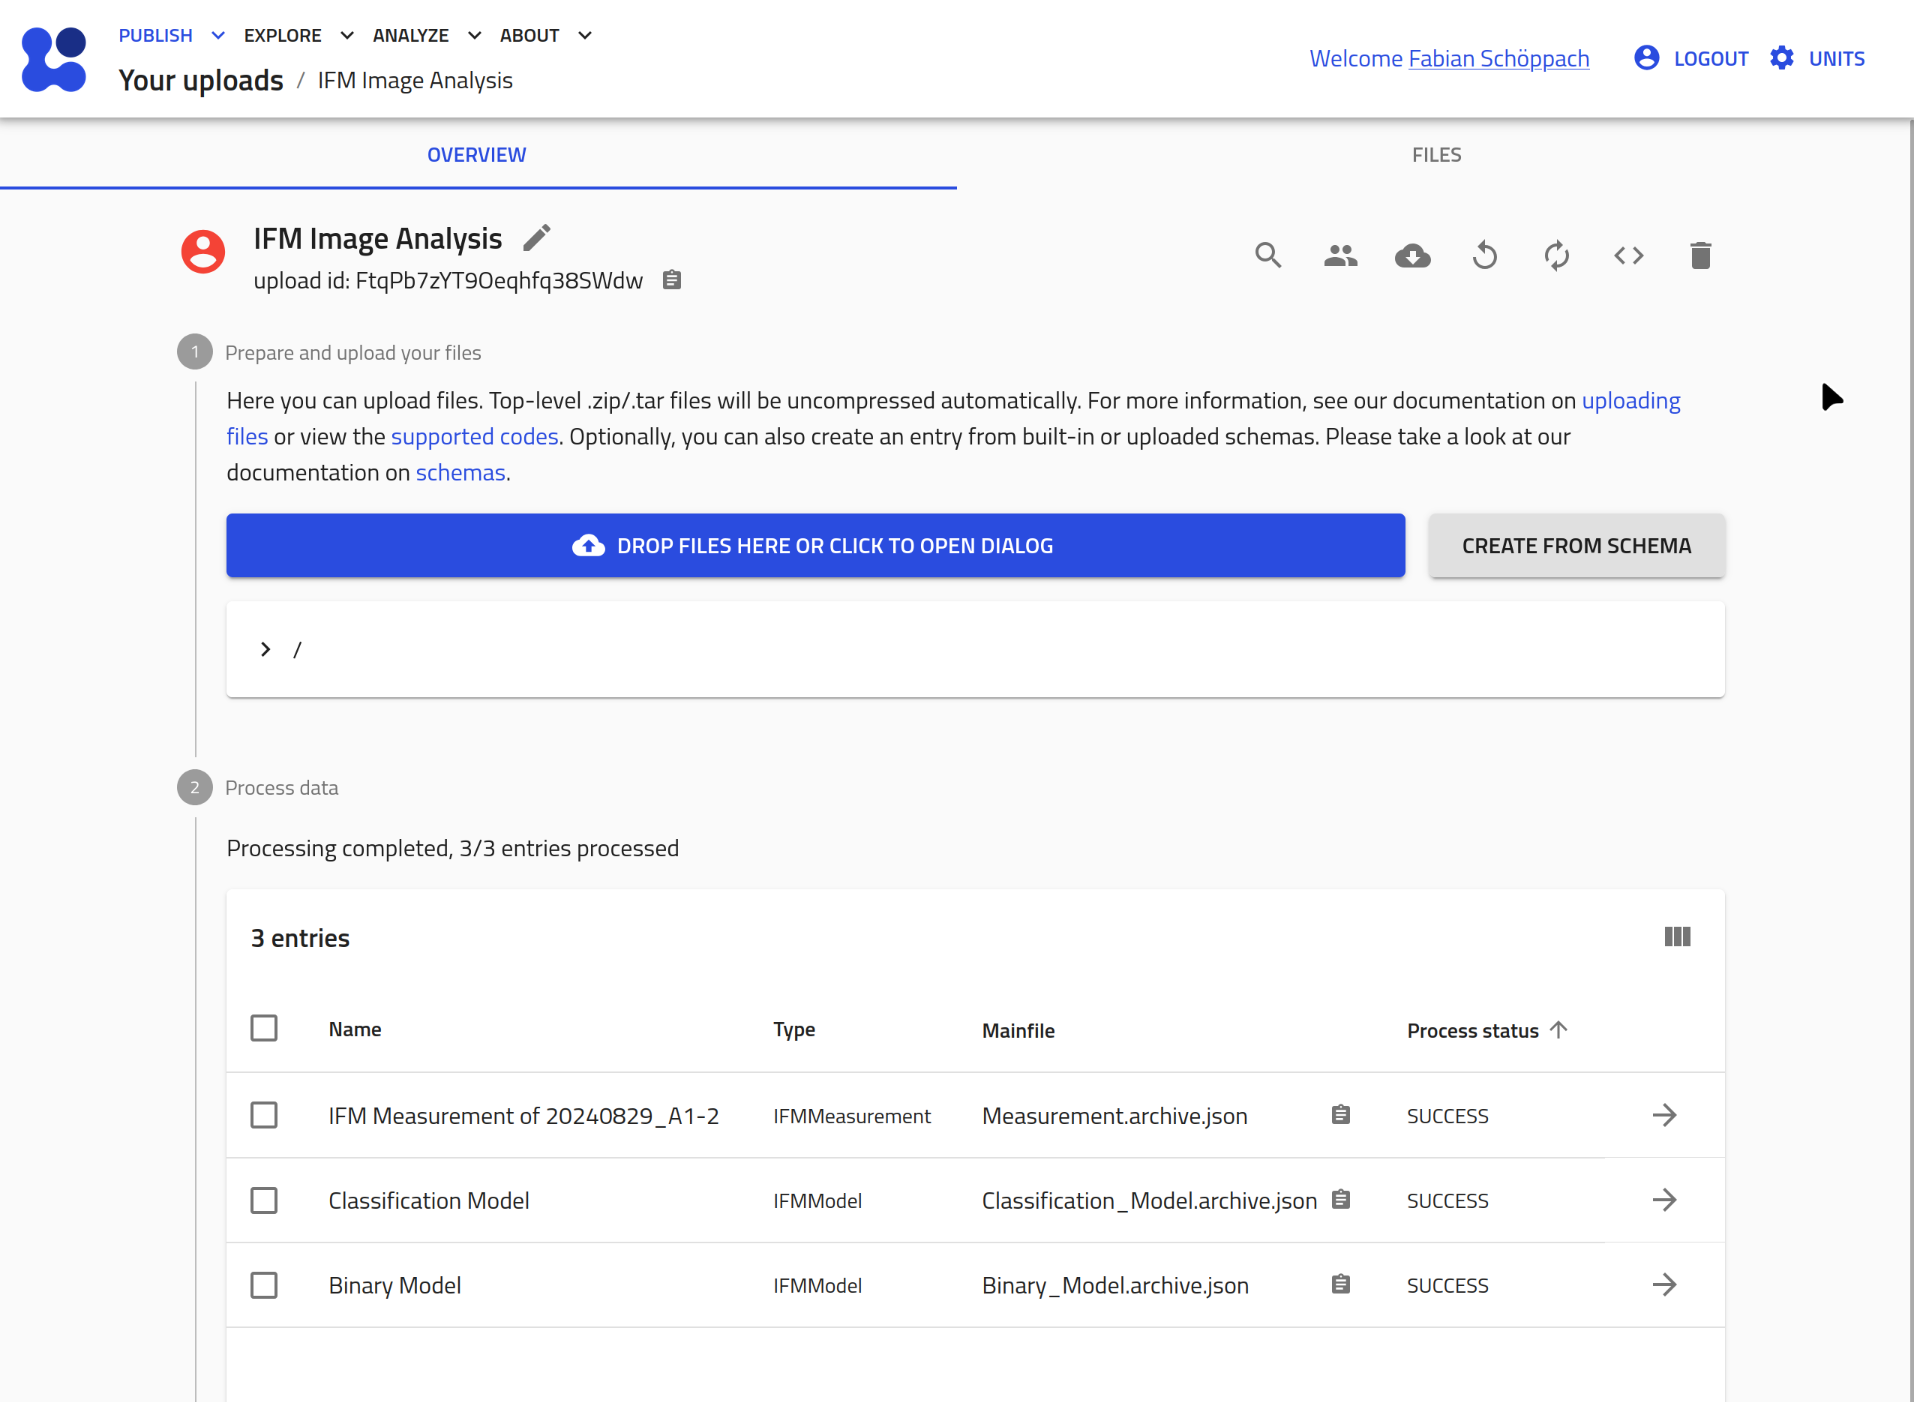
At this point, your NOMAD upload should contain at least one IFMMeasurement entry and two IFMModel entries:
To perform the analysis on this measurement perform the following steps:
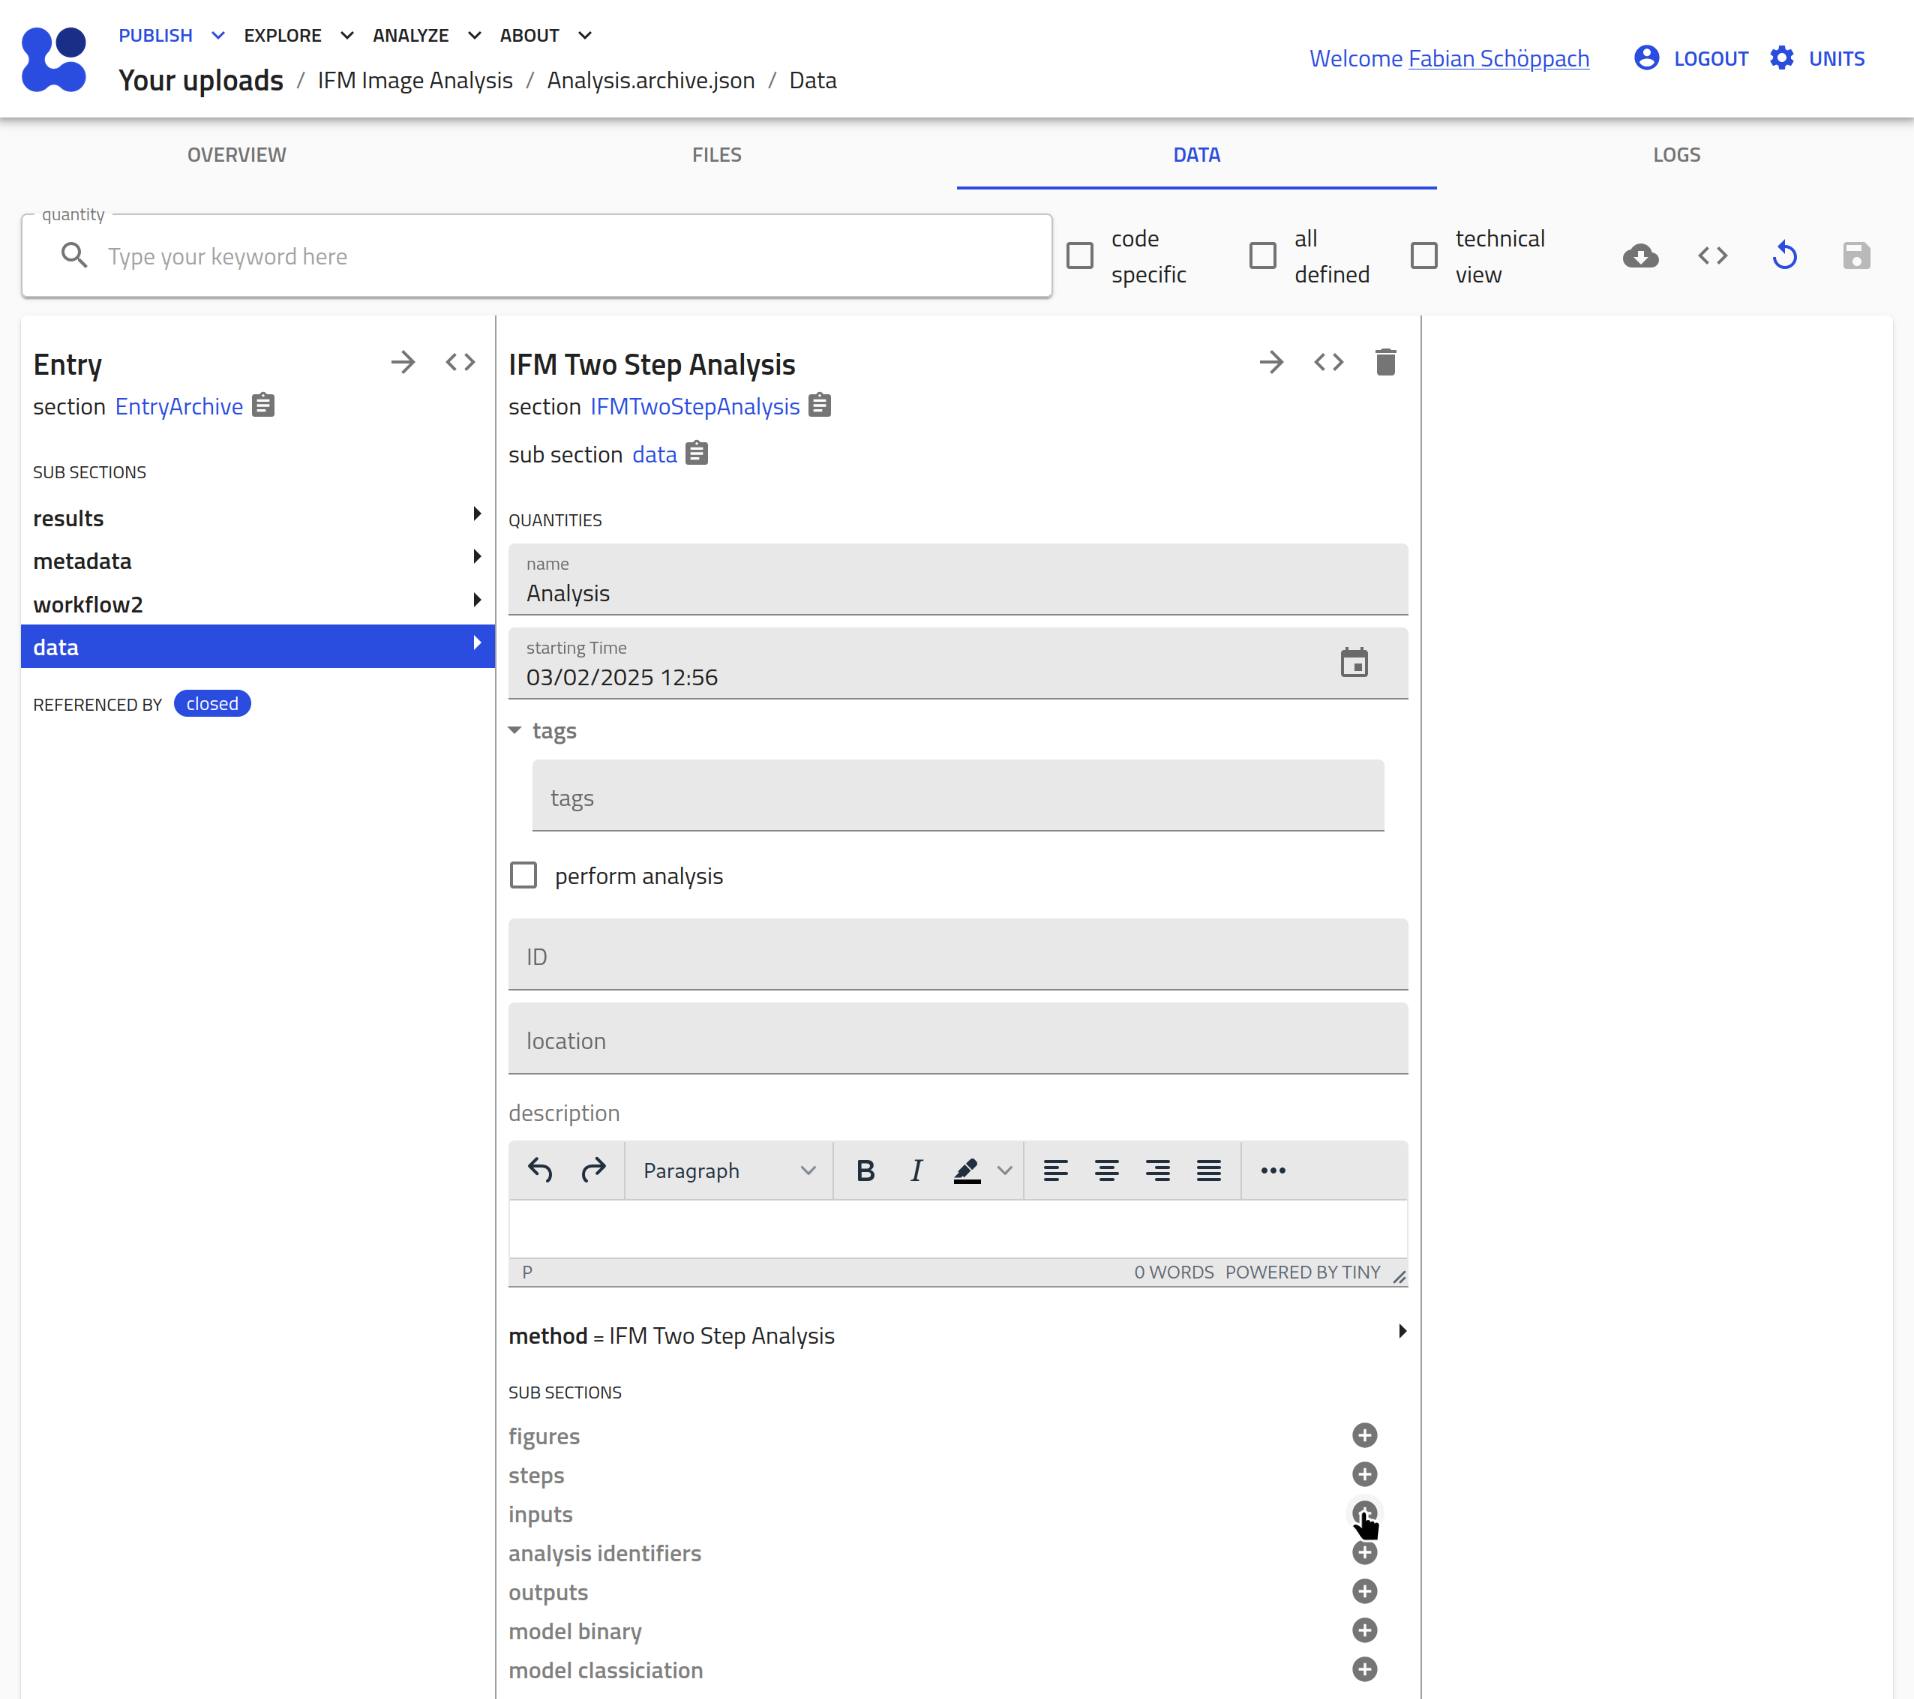
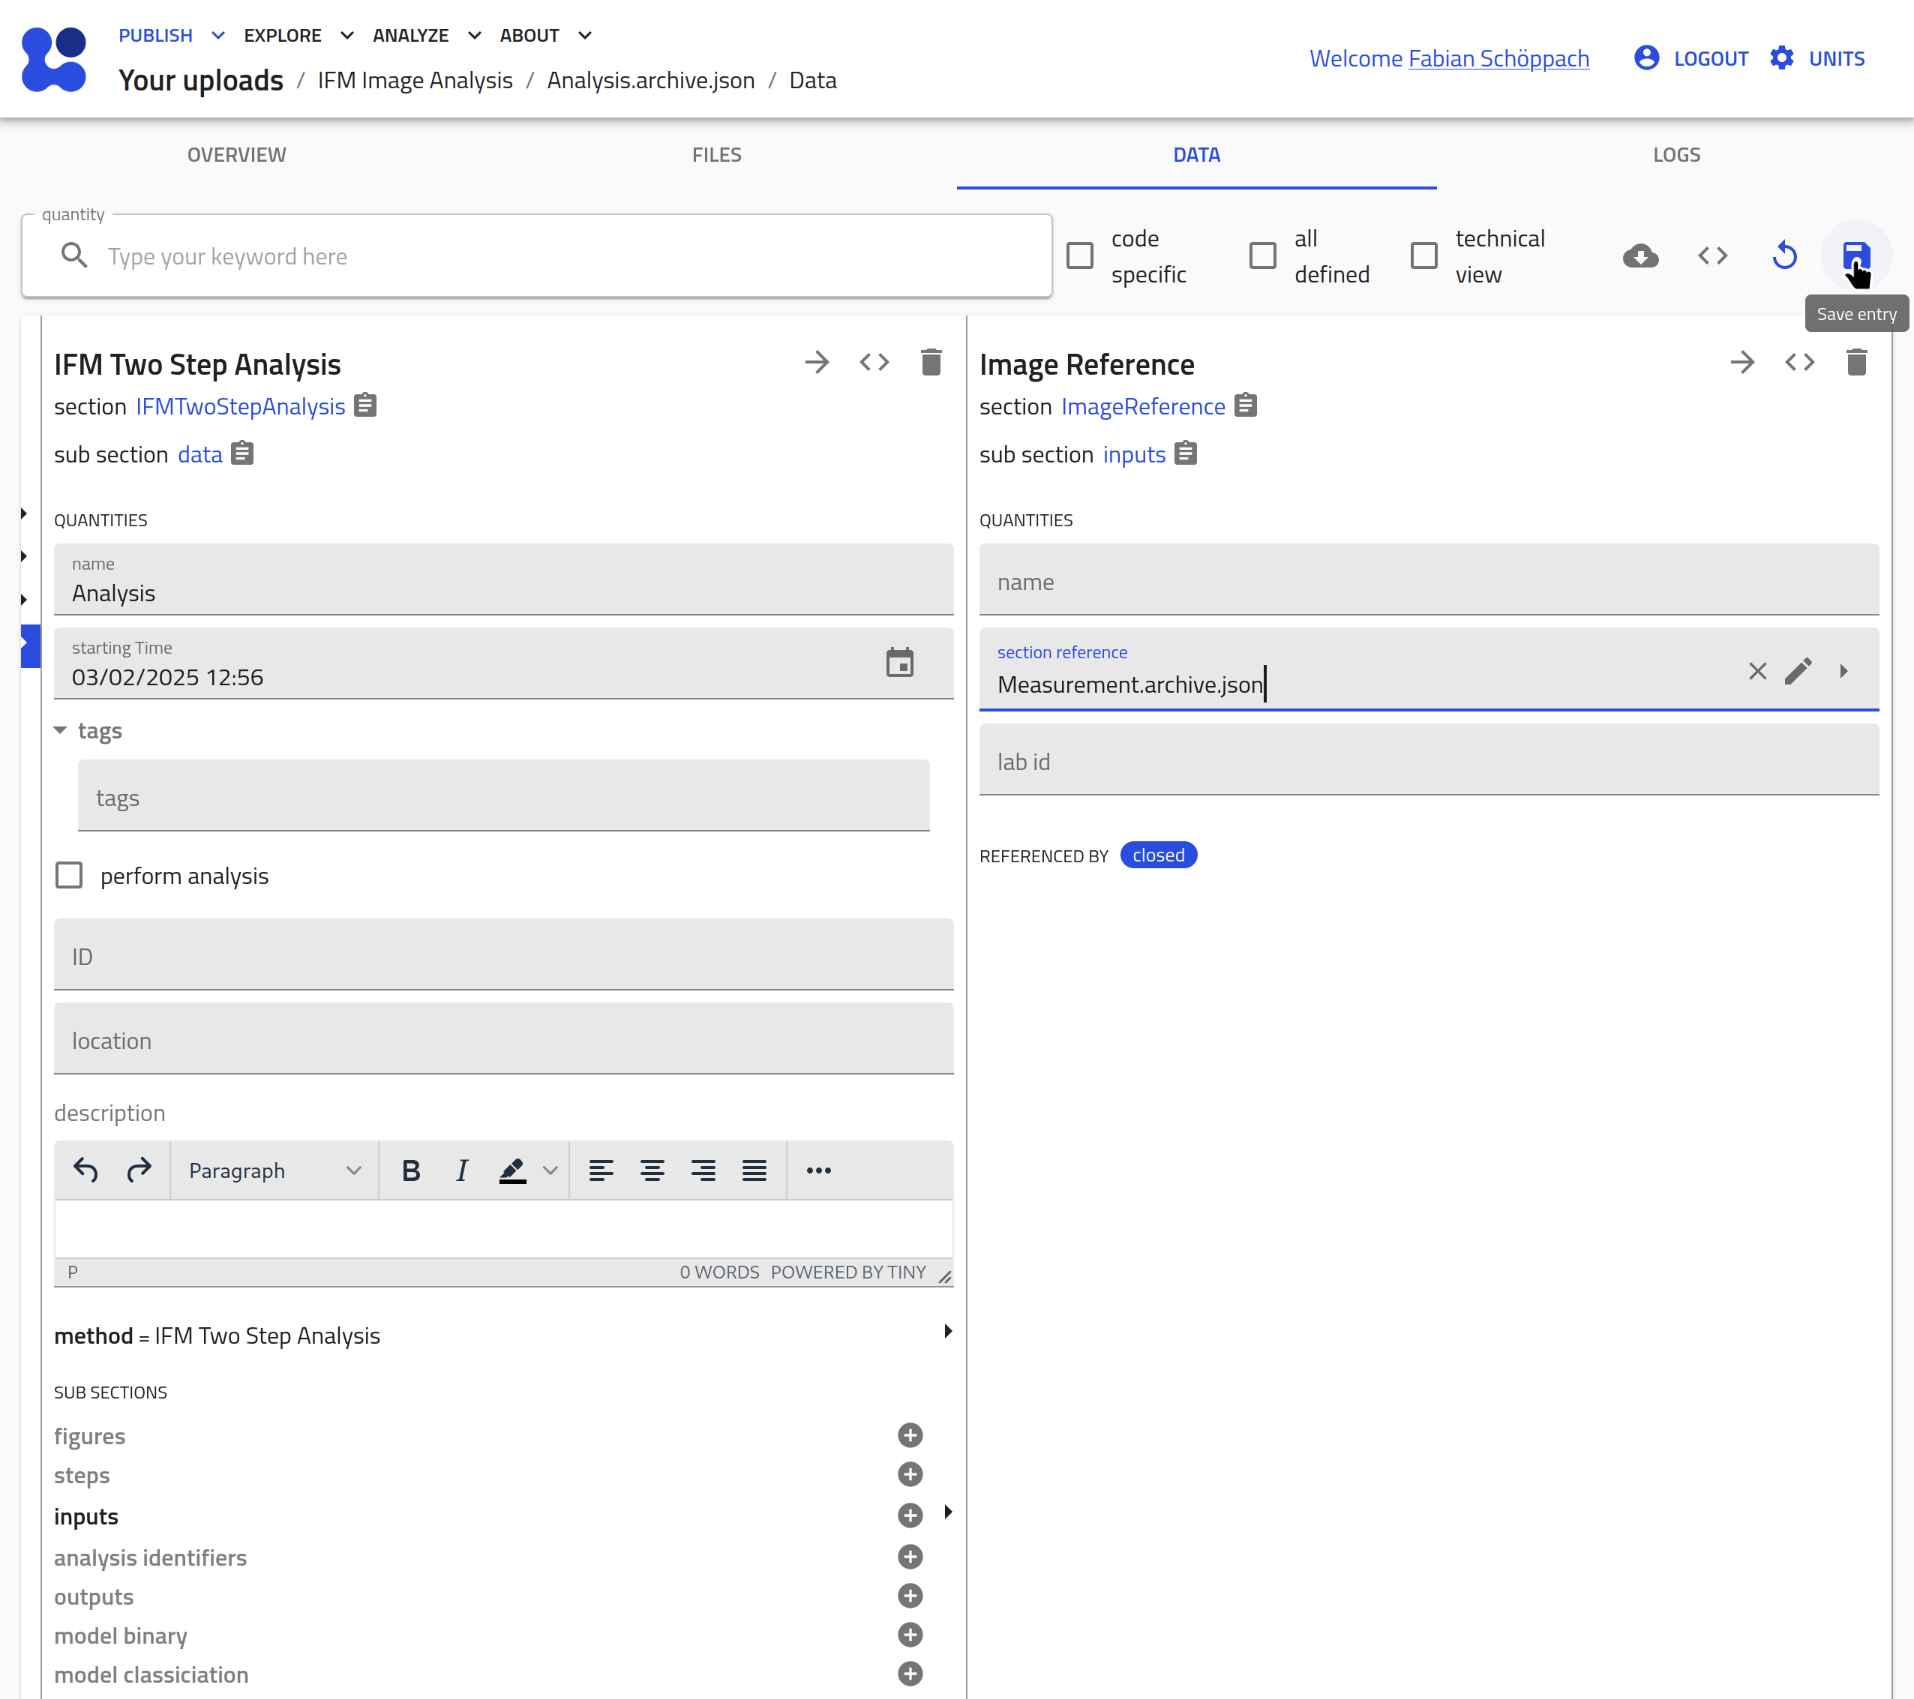
- Create a new IFMAnalysis entry:
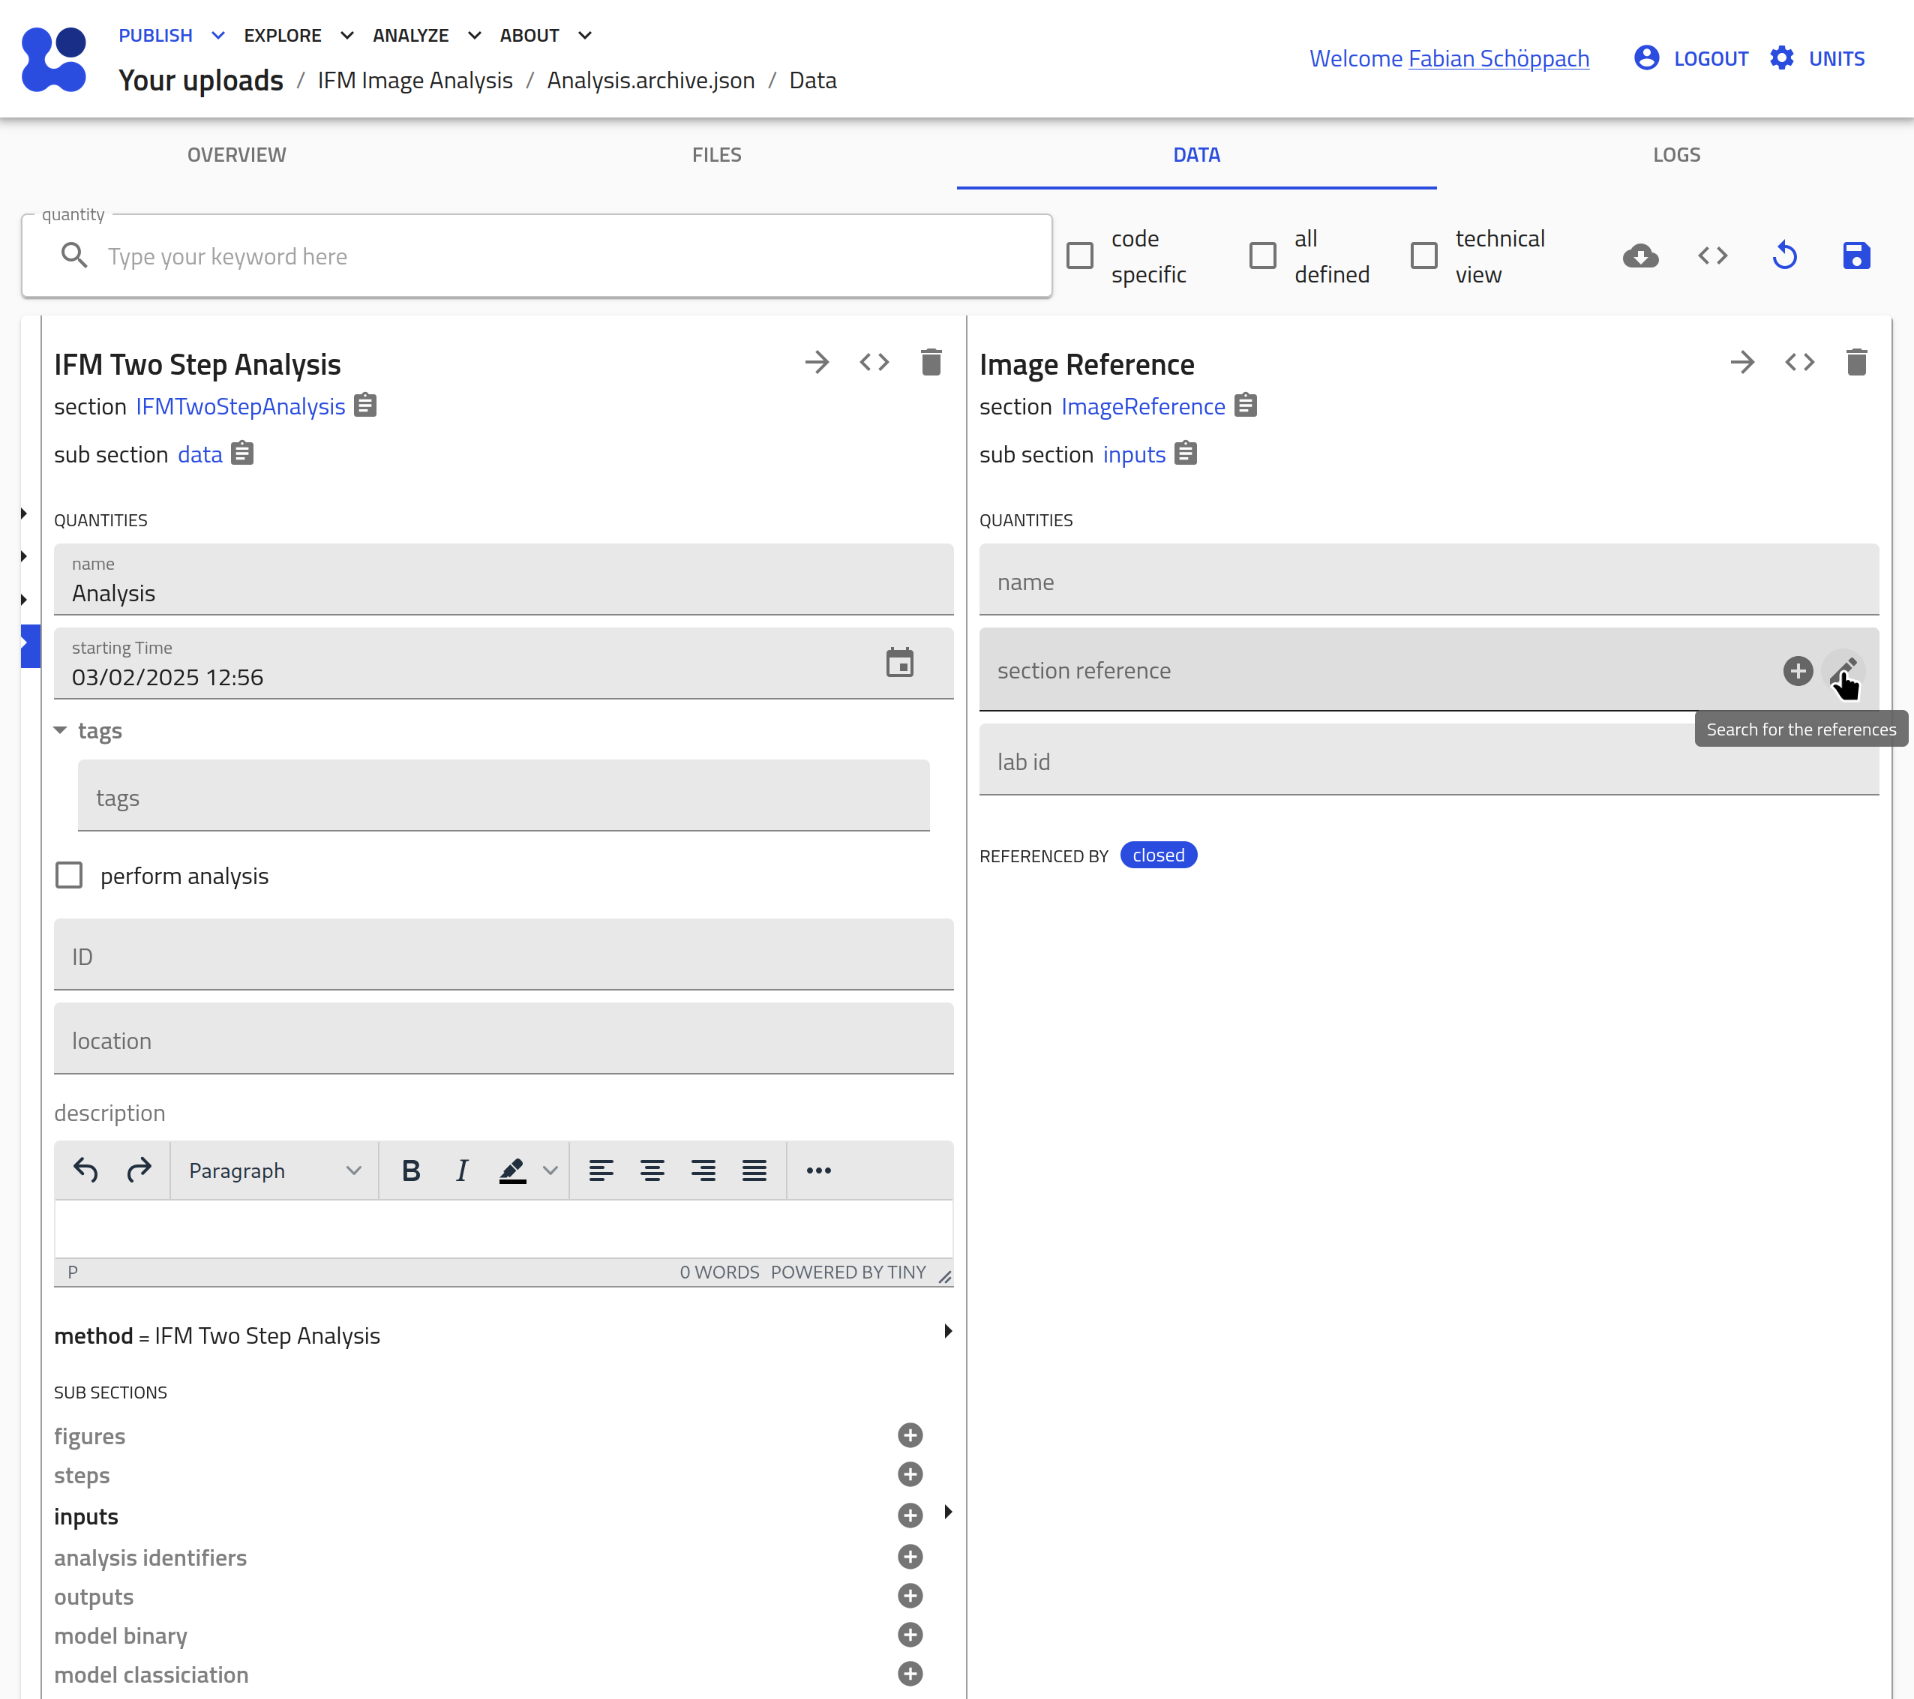
- Assign the measurement entry:
Create a newinputsection by clicking the plus icon:
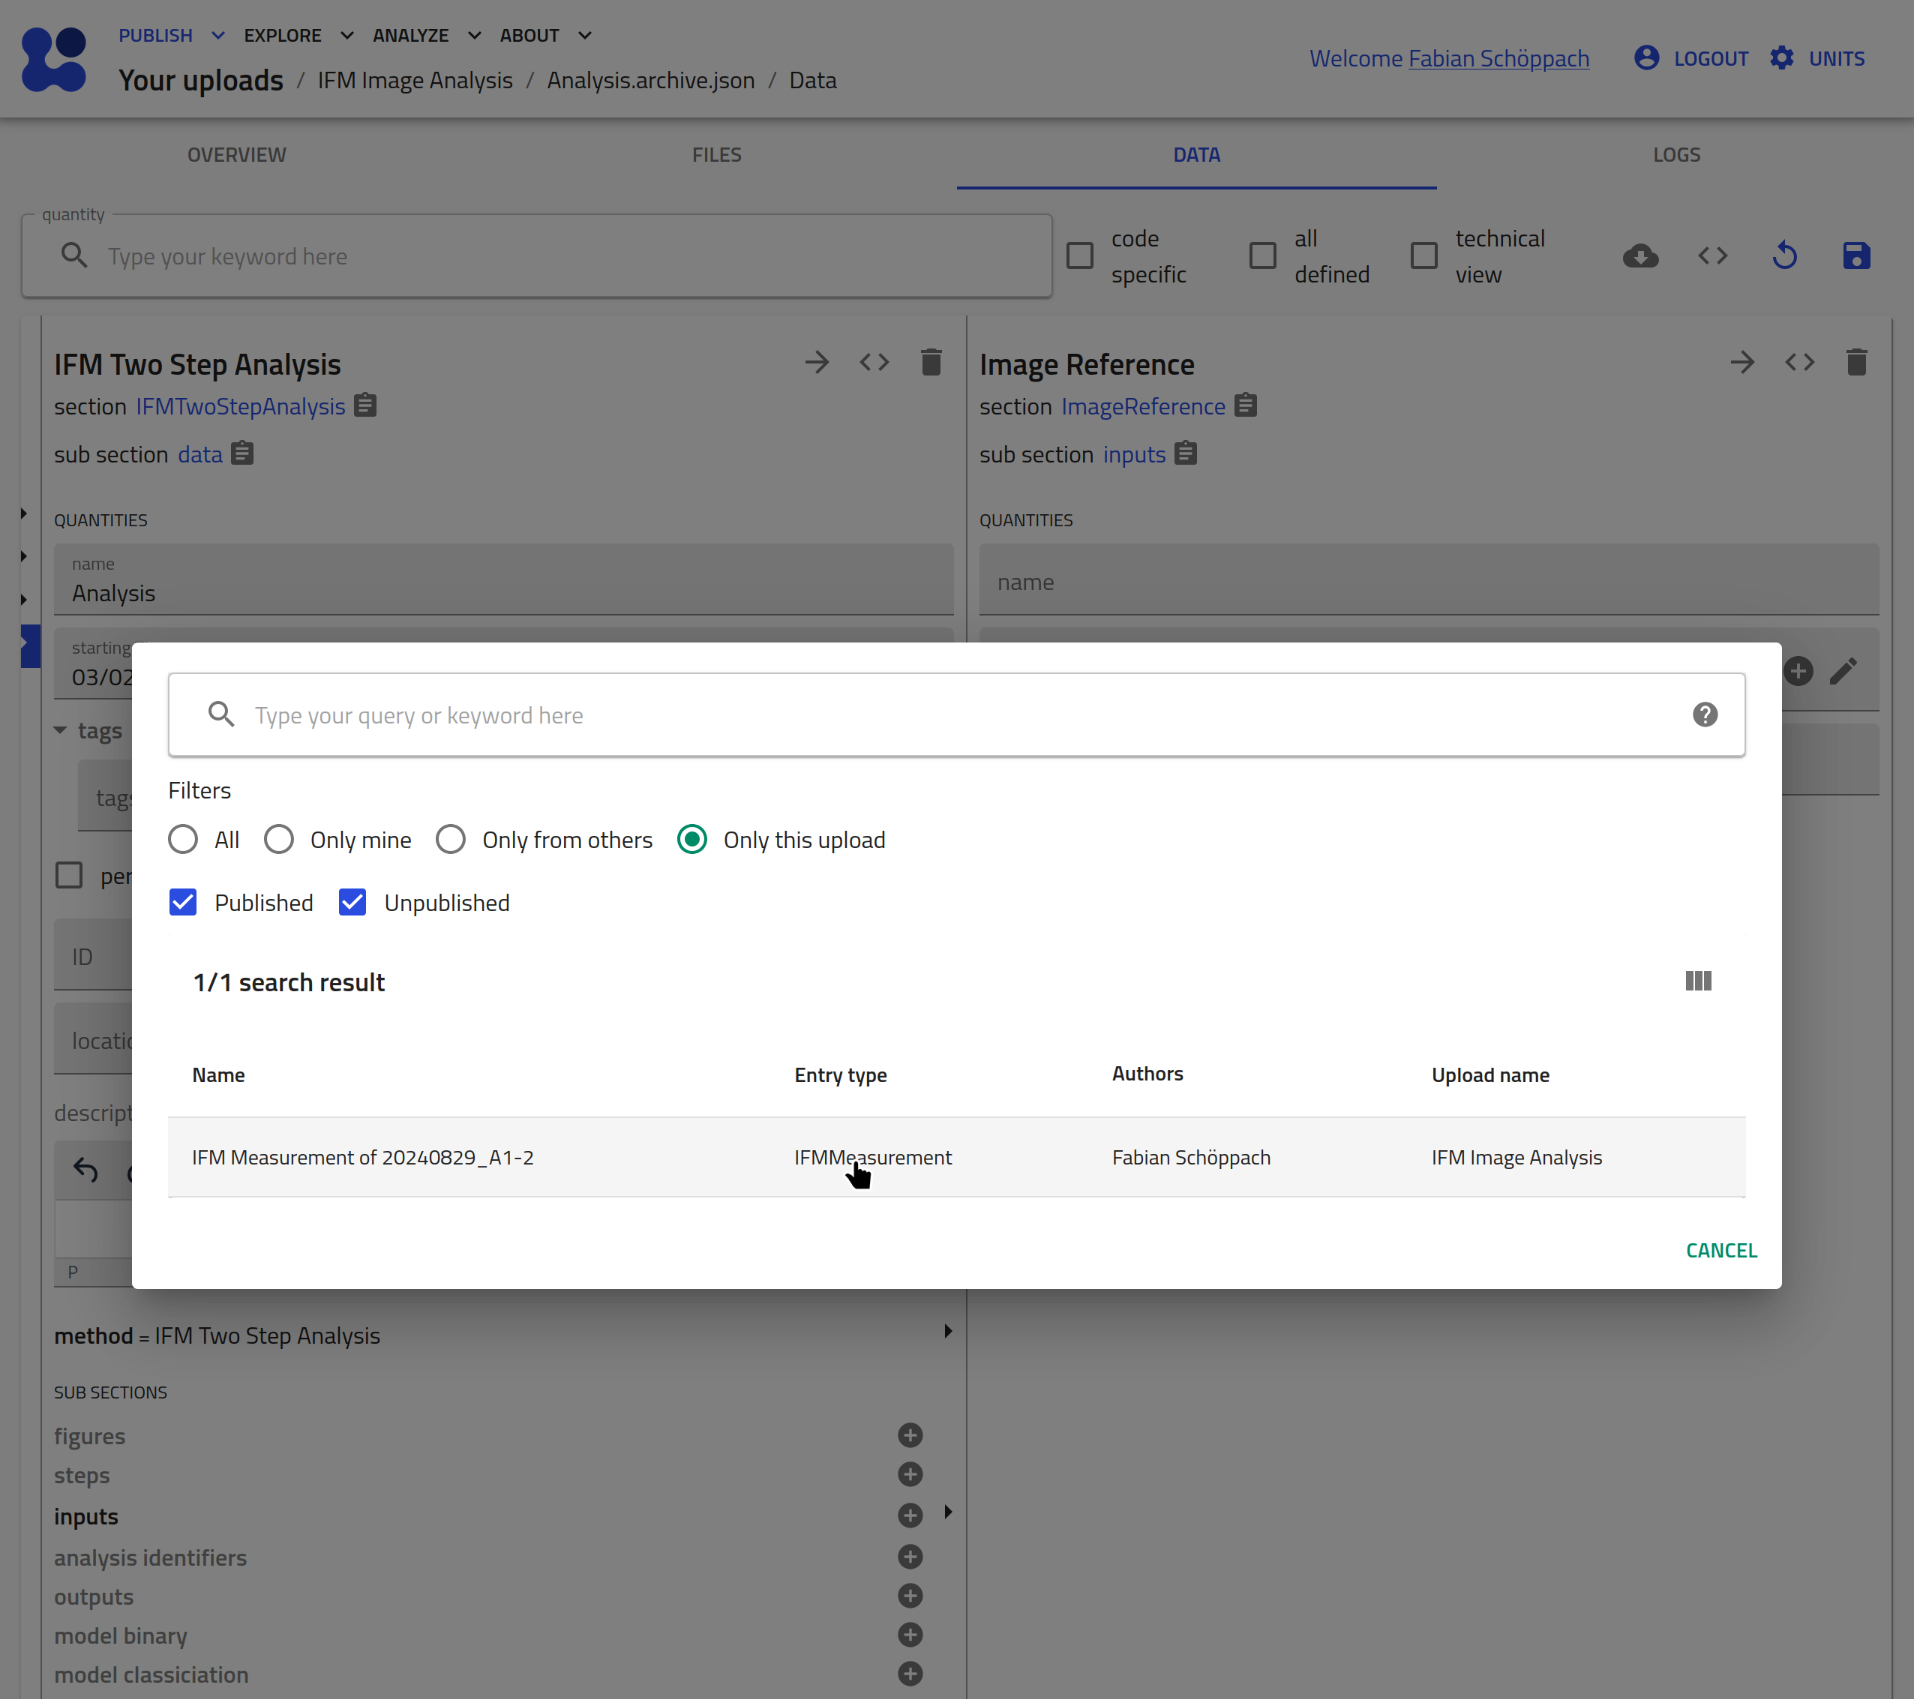
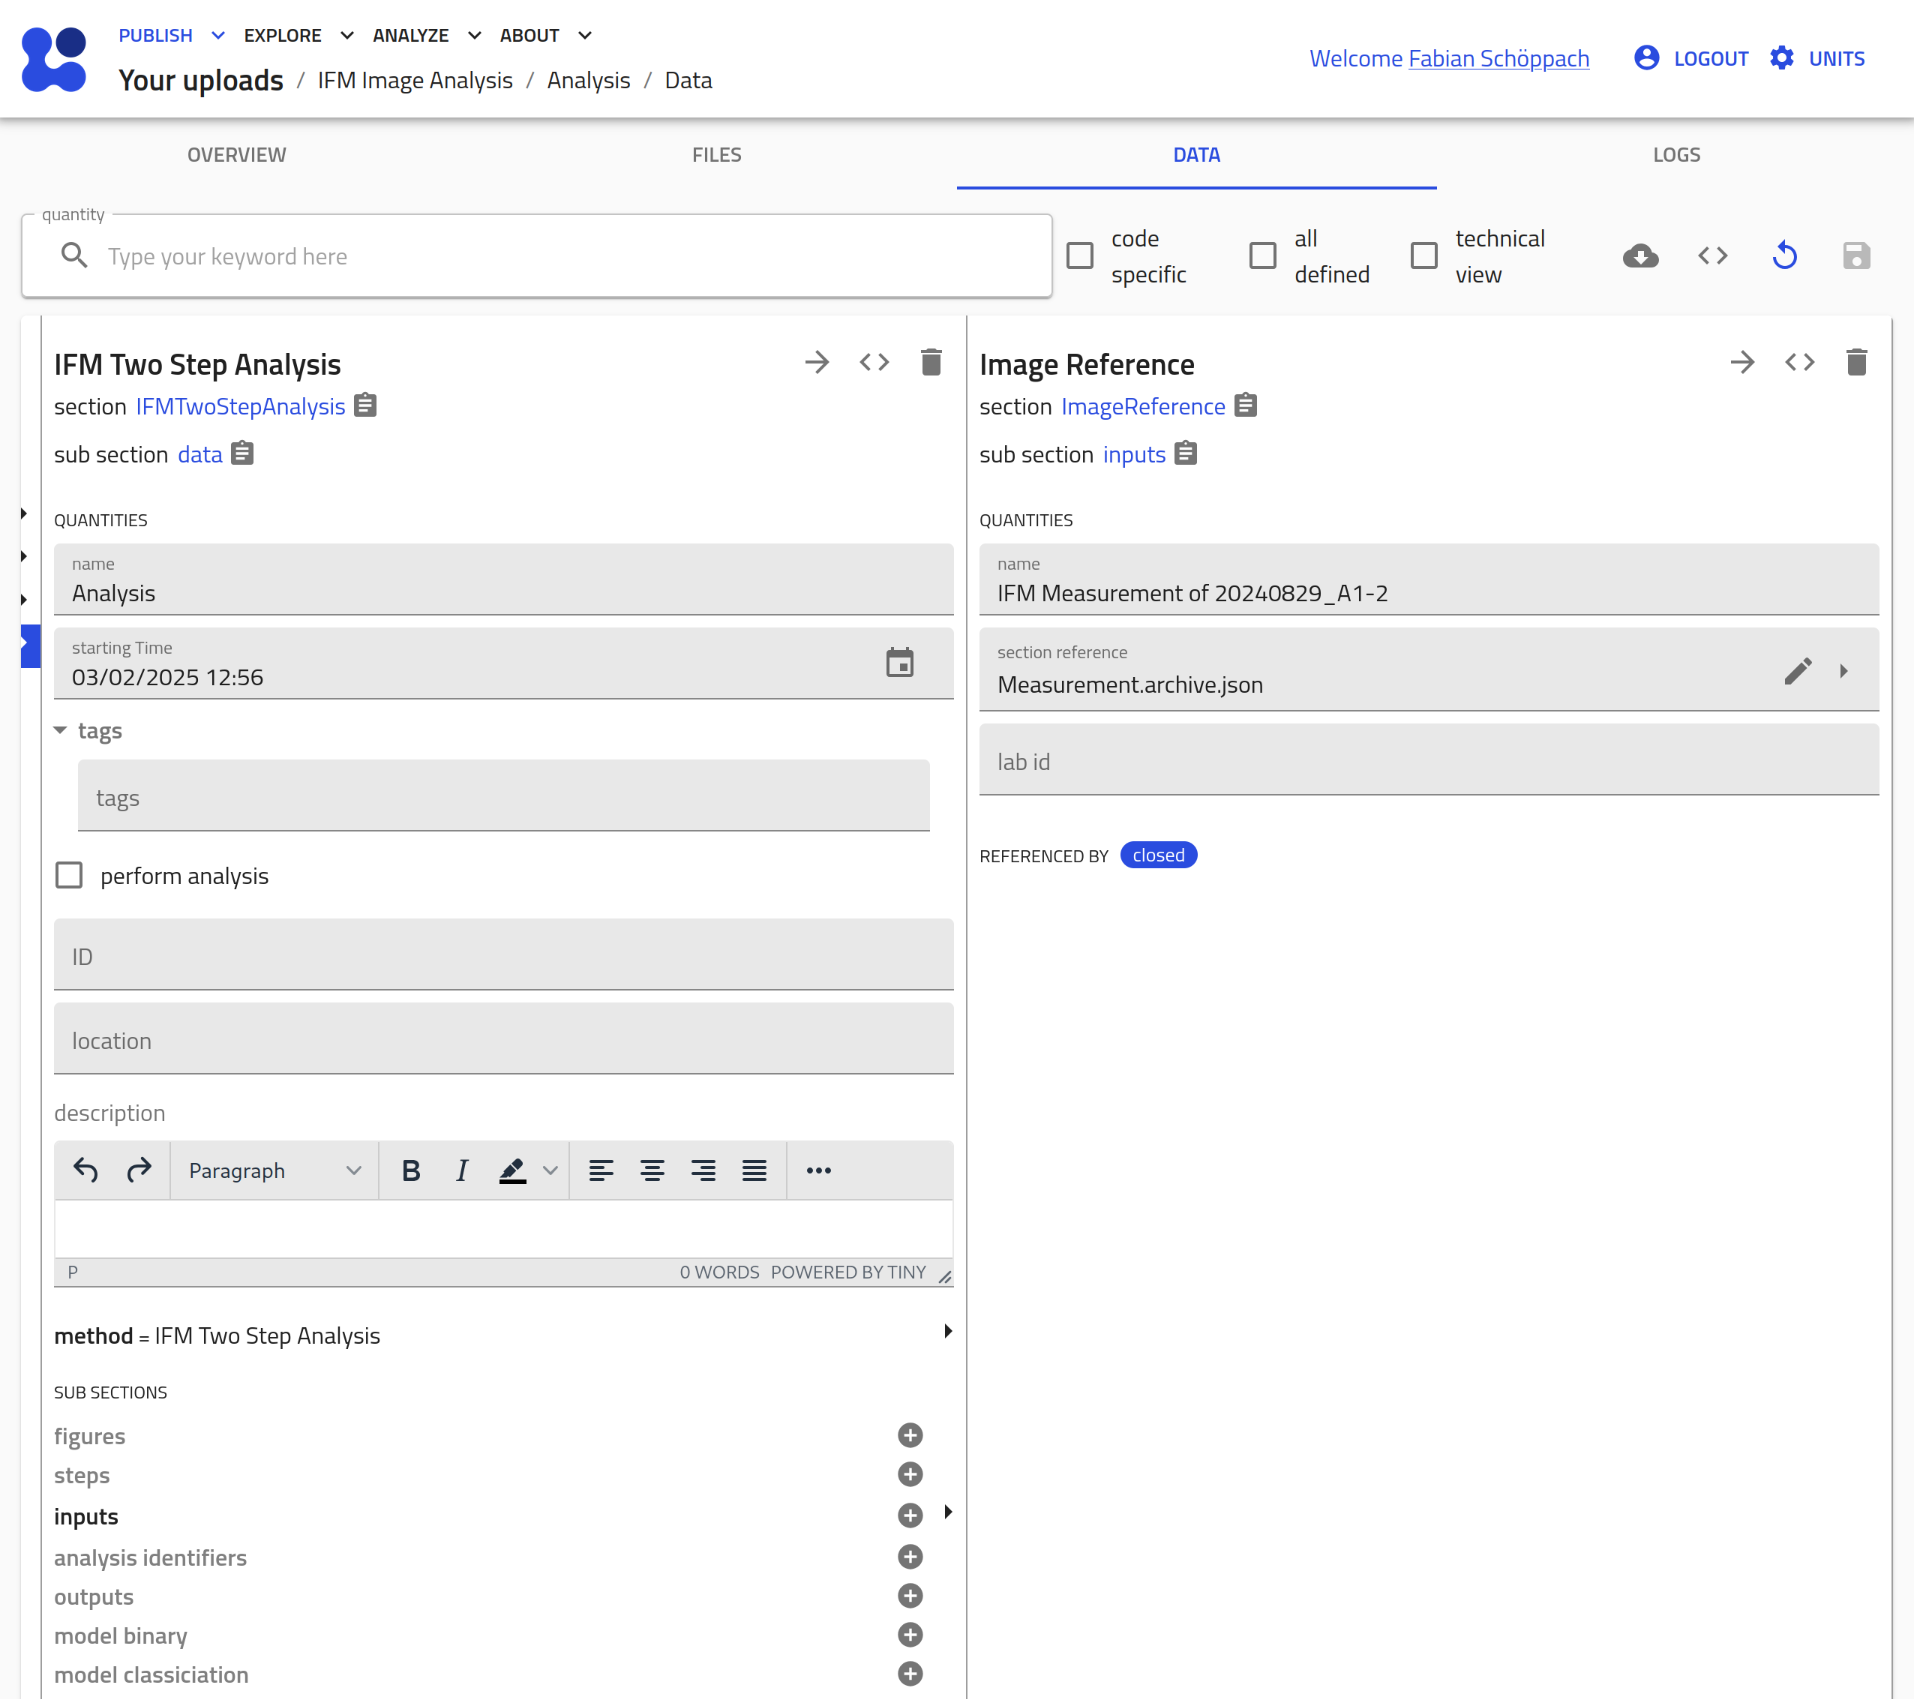
Click on the pen icon to assign an existing entry:
Select the IFMMeasurement entry you want to analyze:
Save this change:
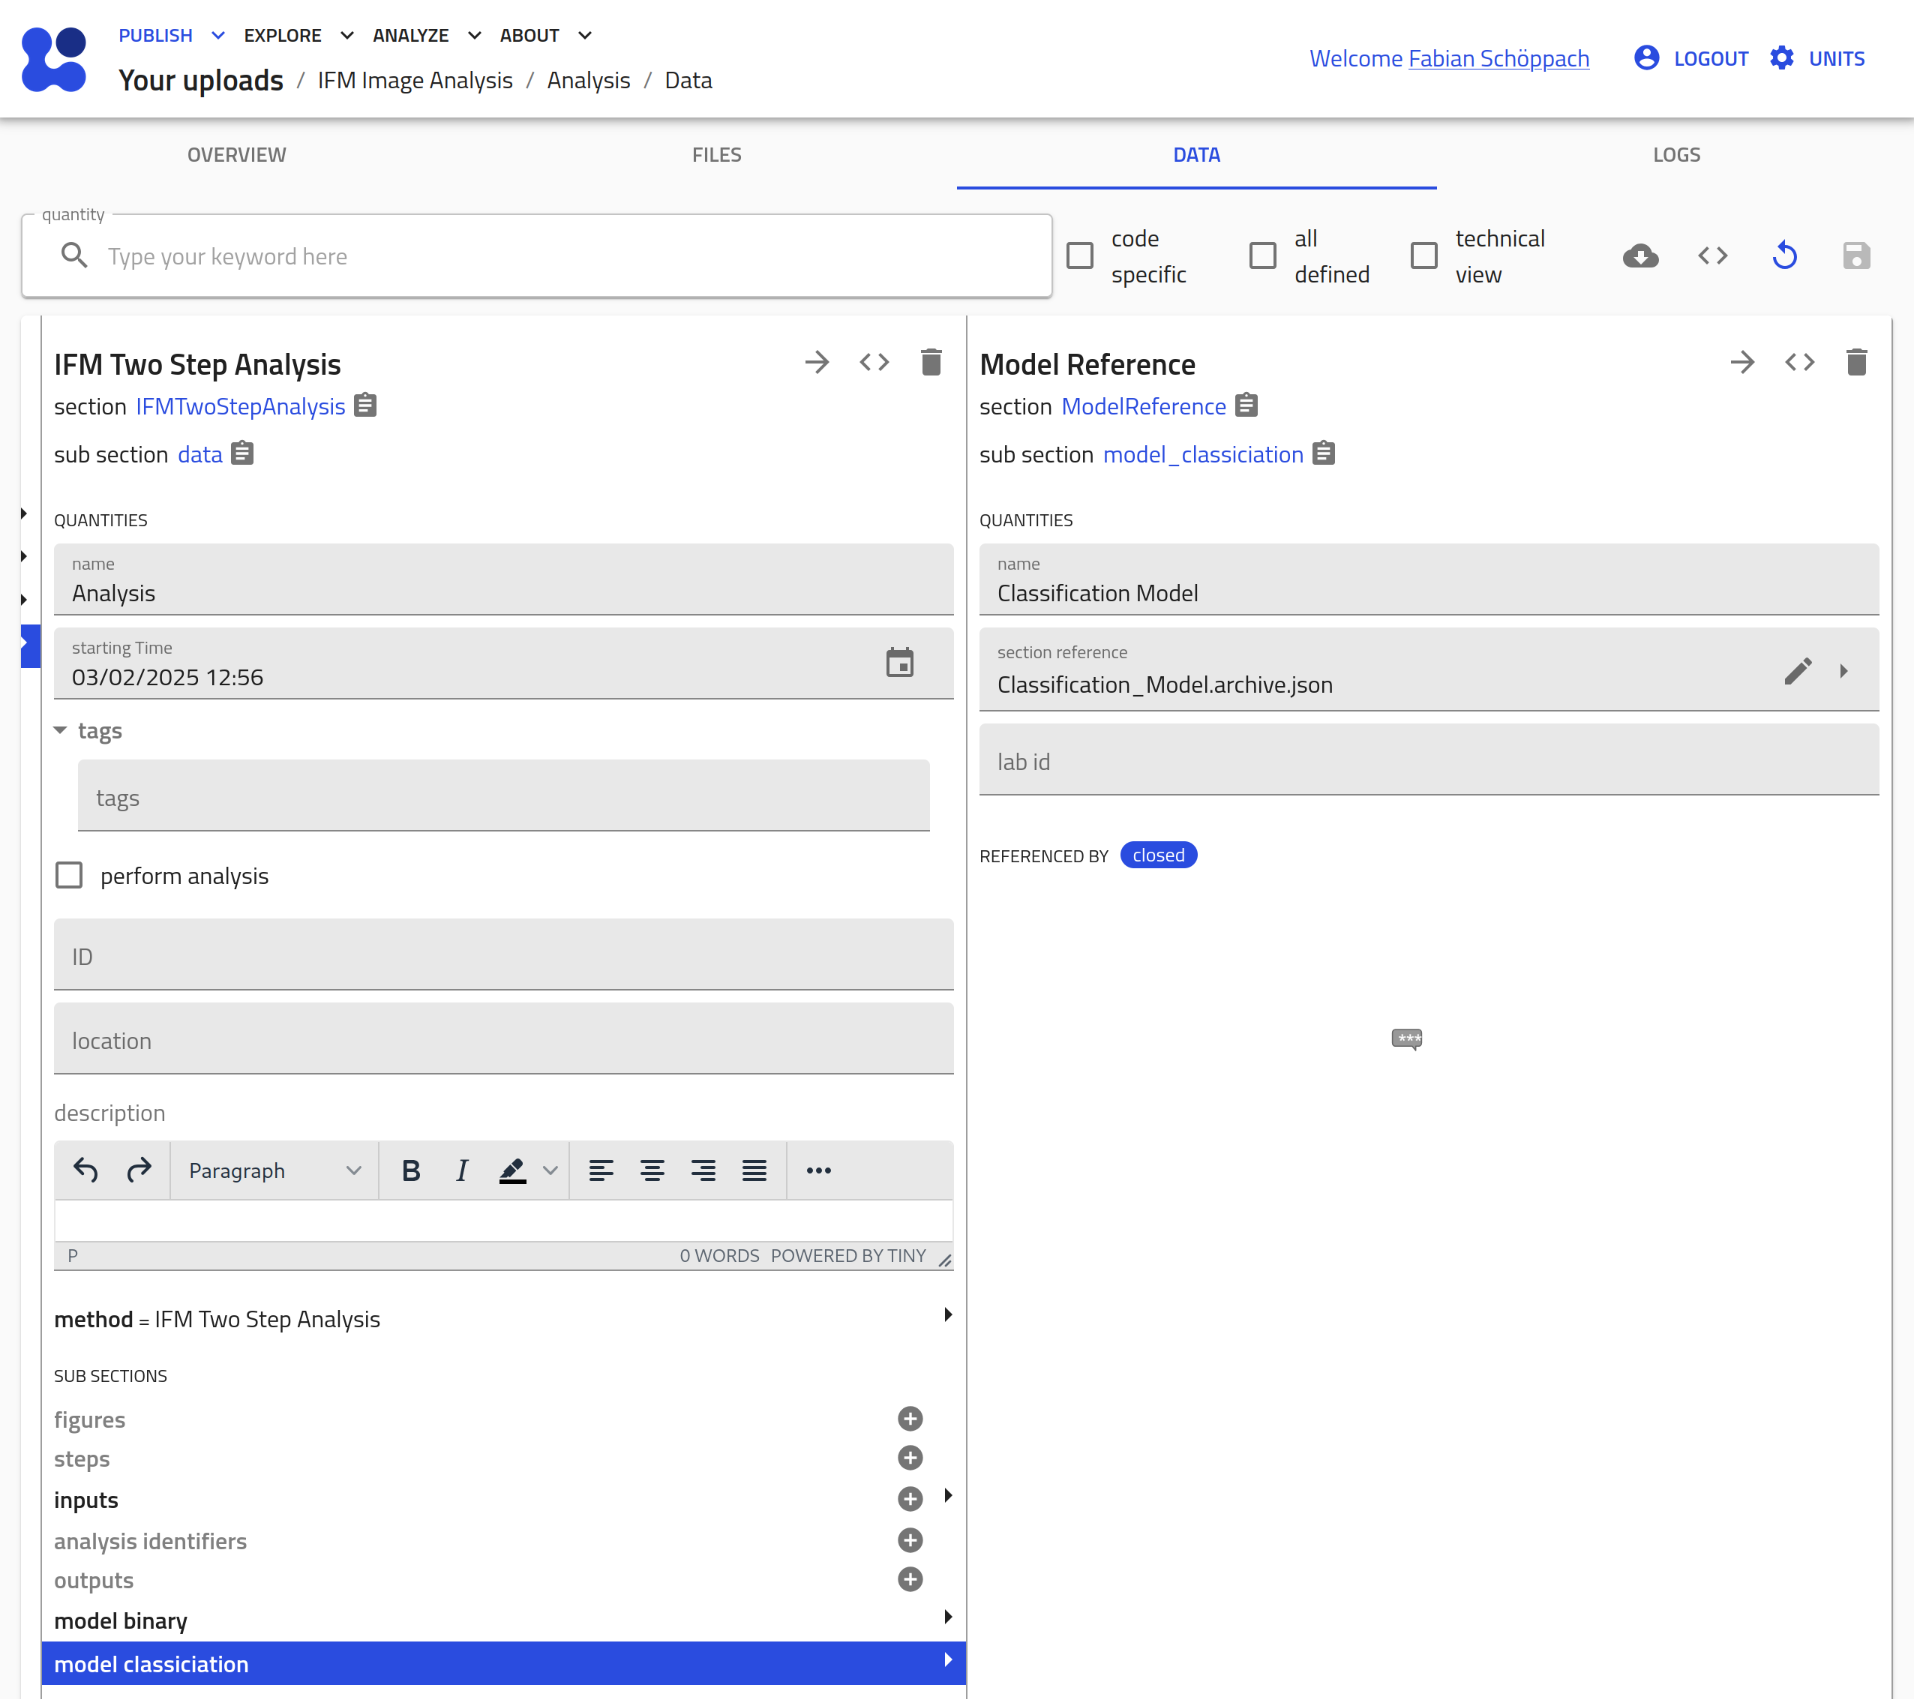
- Assign the models:
Repeat the steps from above to assign both
IFMModelentries as well:
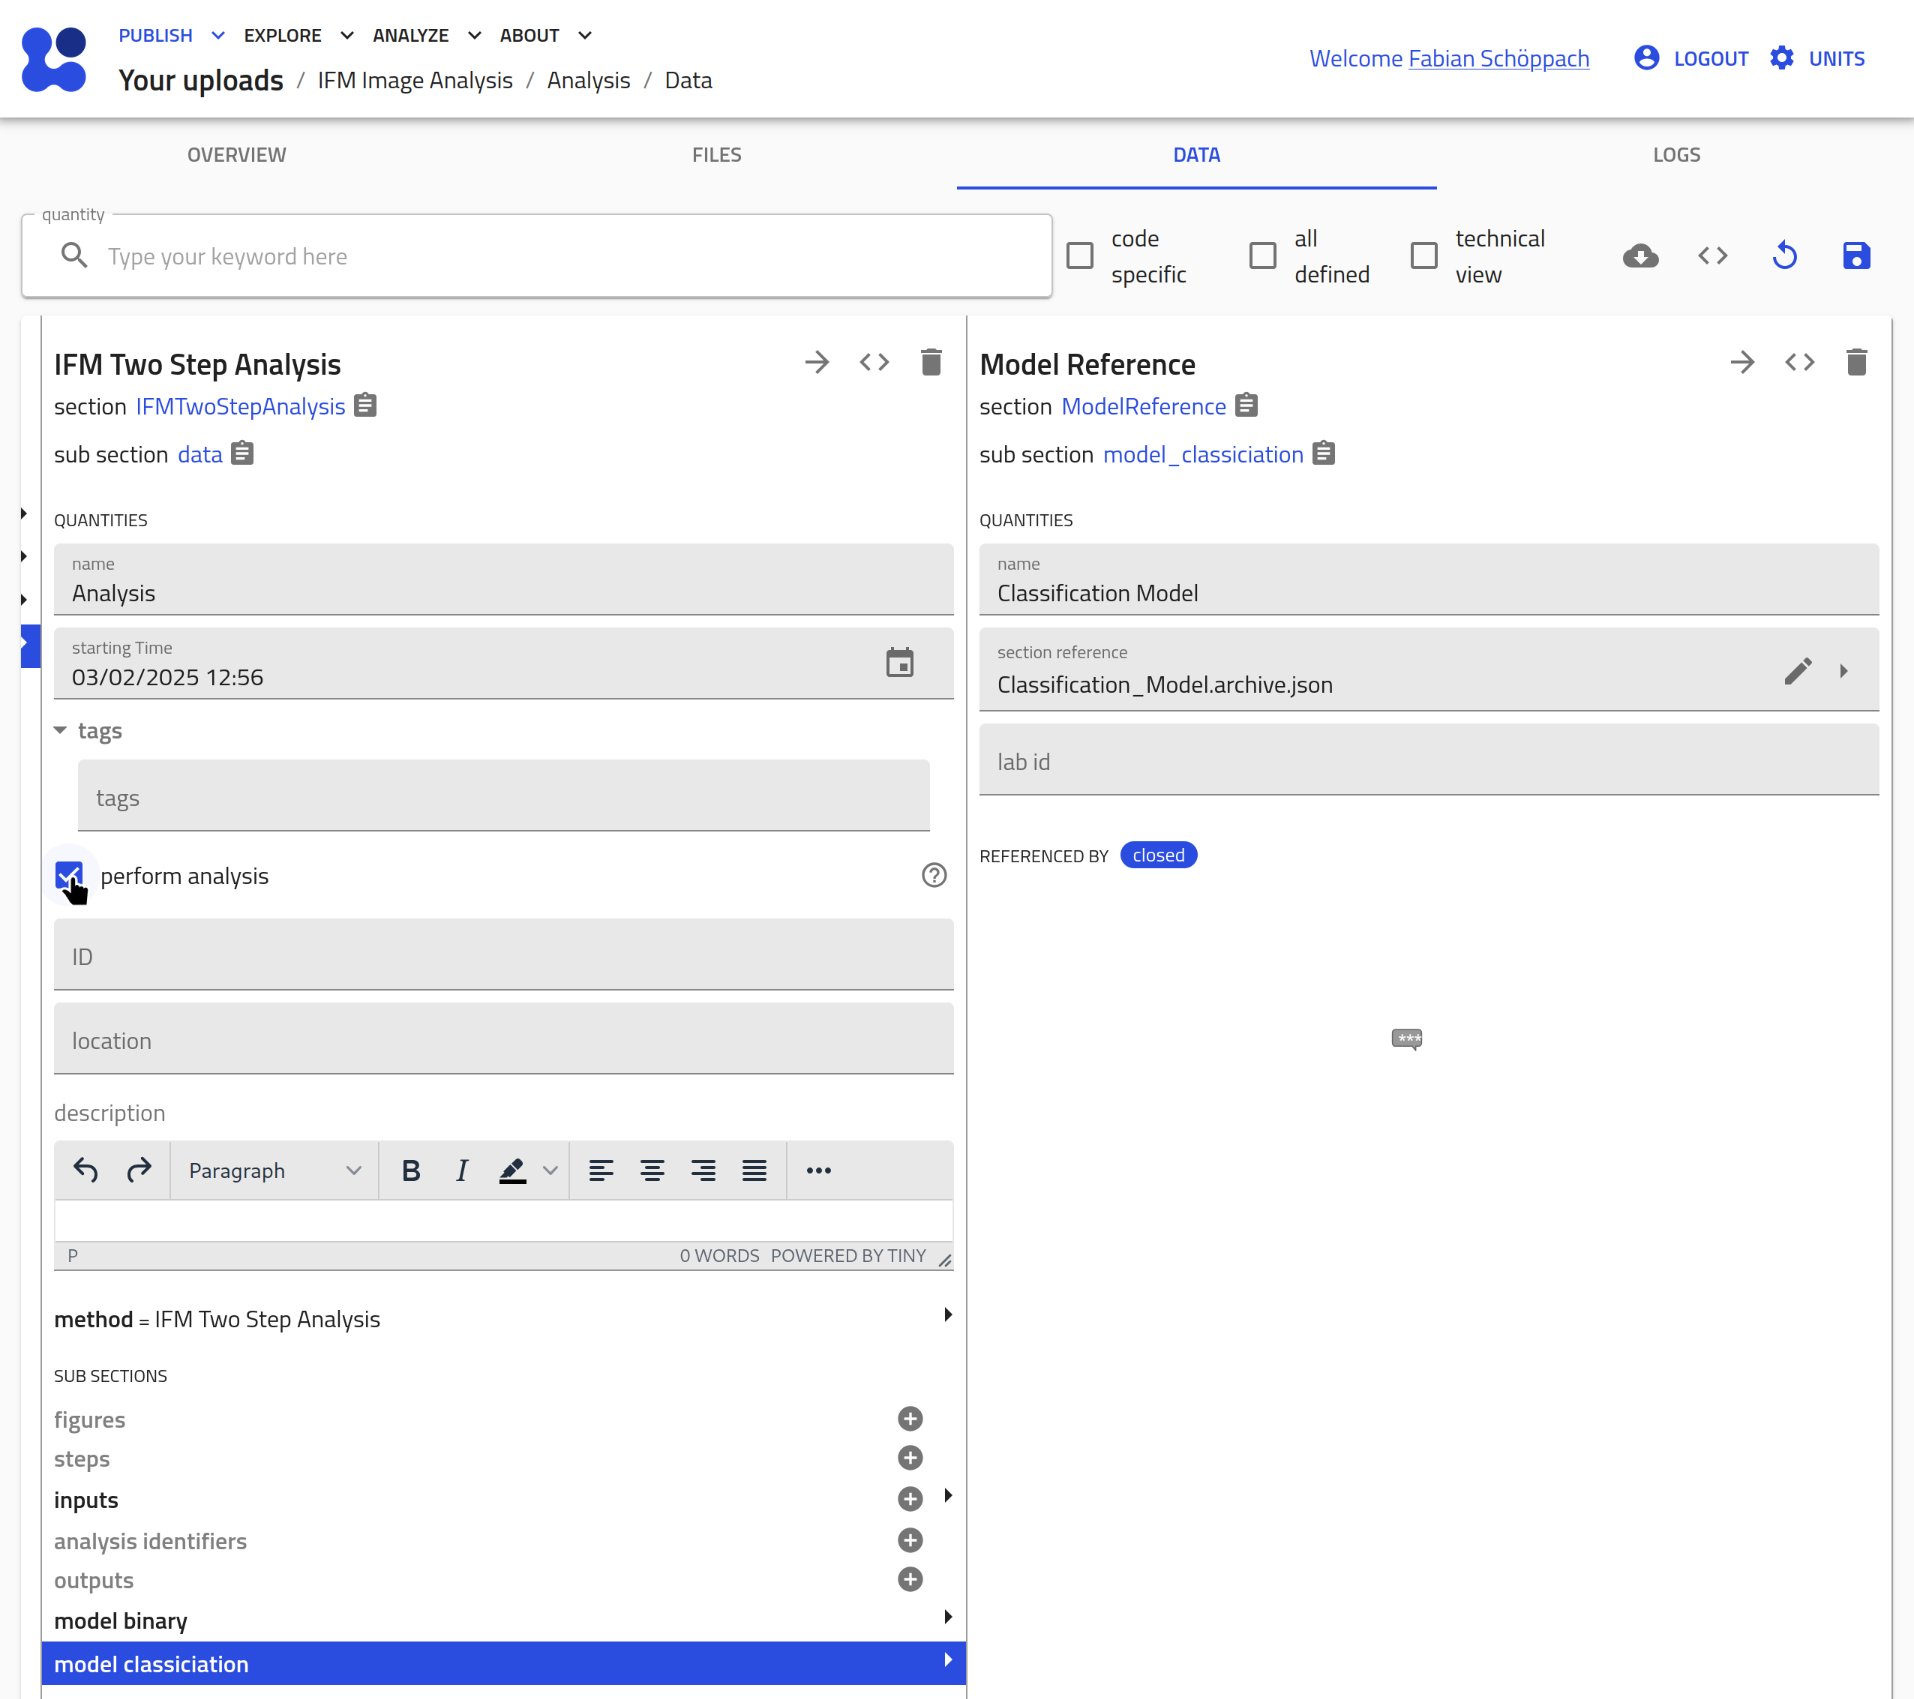
- Check 'perform analysis':
By opting the 'perform analysis' checkbox (and saving) the image analysis is triggered:
- Results:
Execution of the code can take up to several minutes.
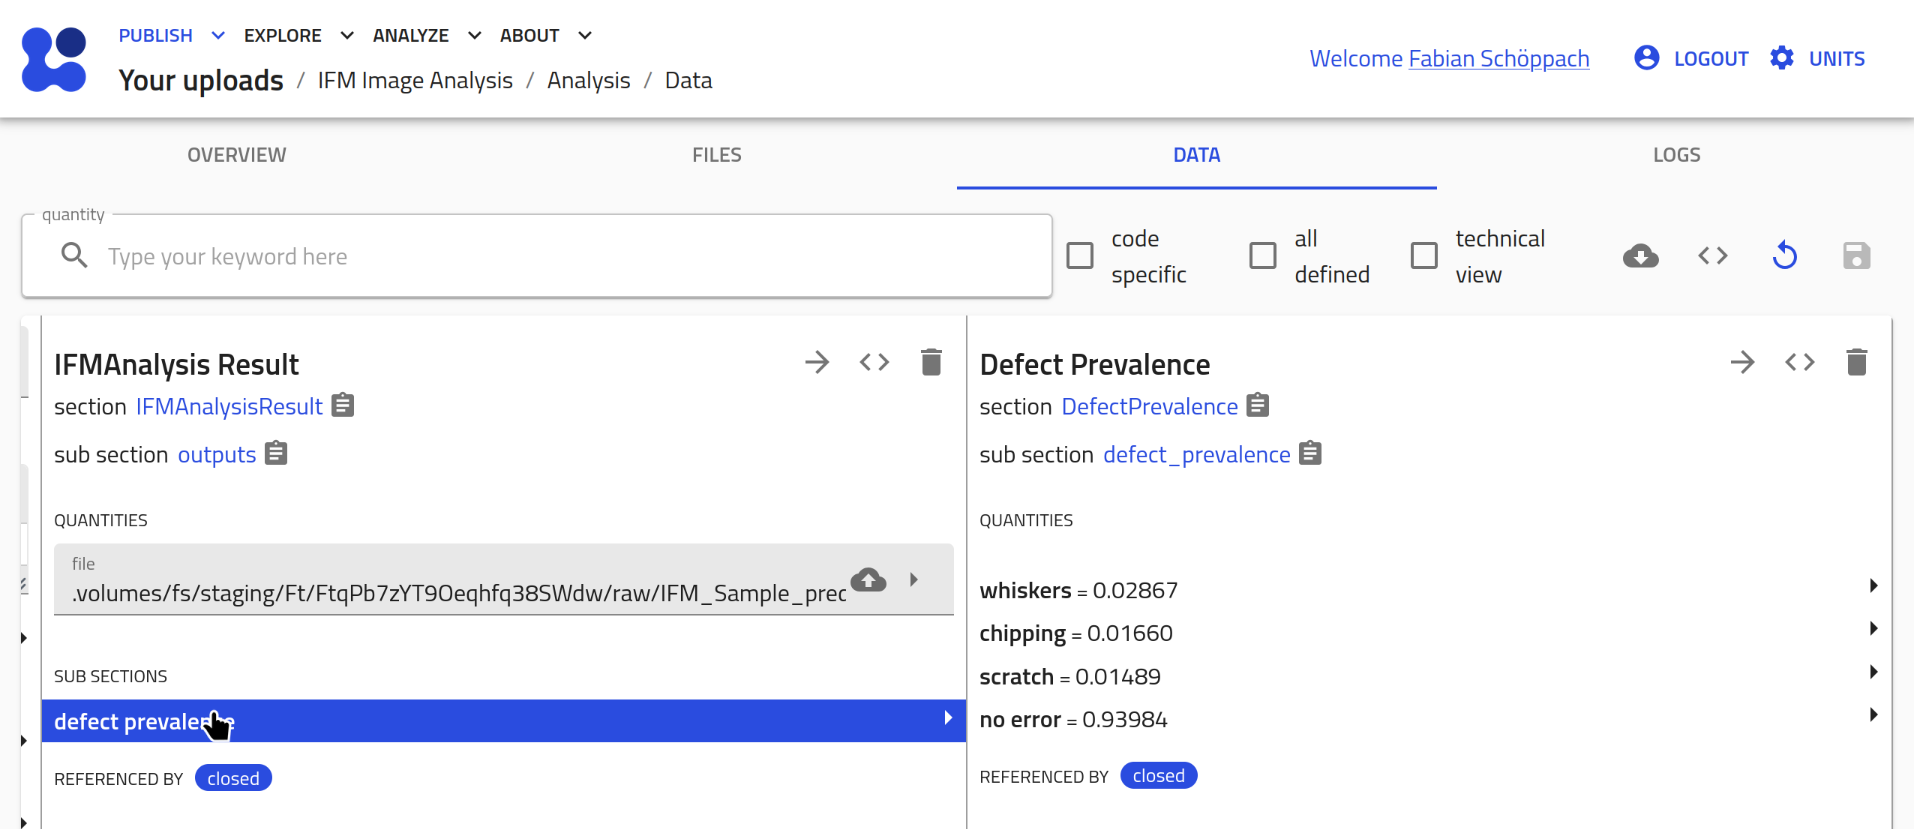
Results are stored in a csv file that is referenced in the
outputsection of theIFMAnalsisentry:
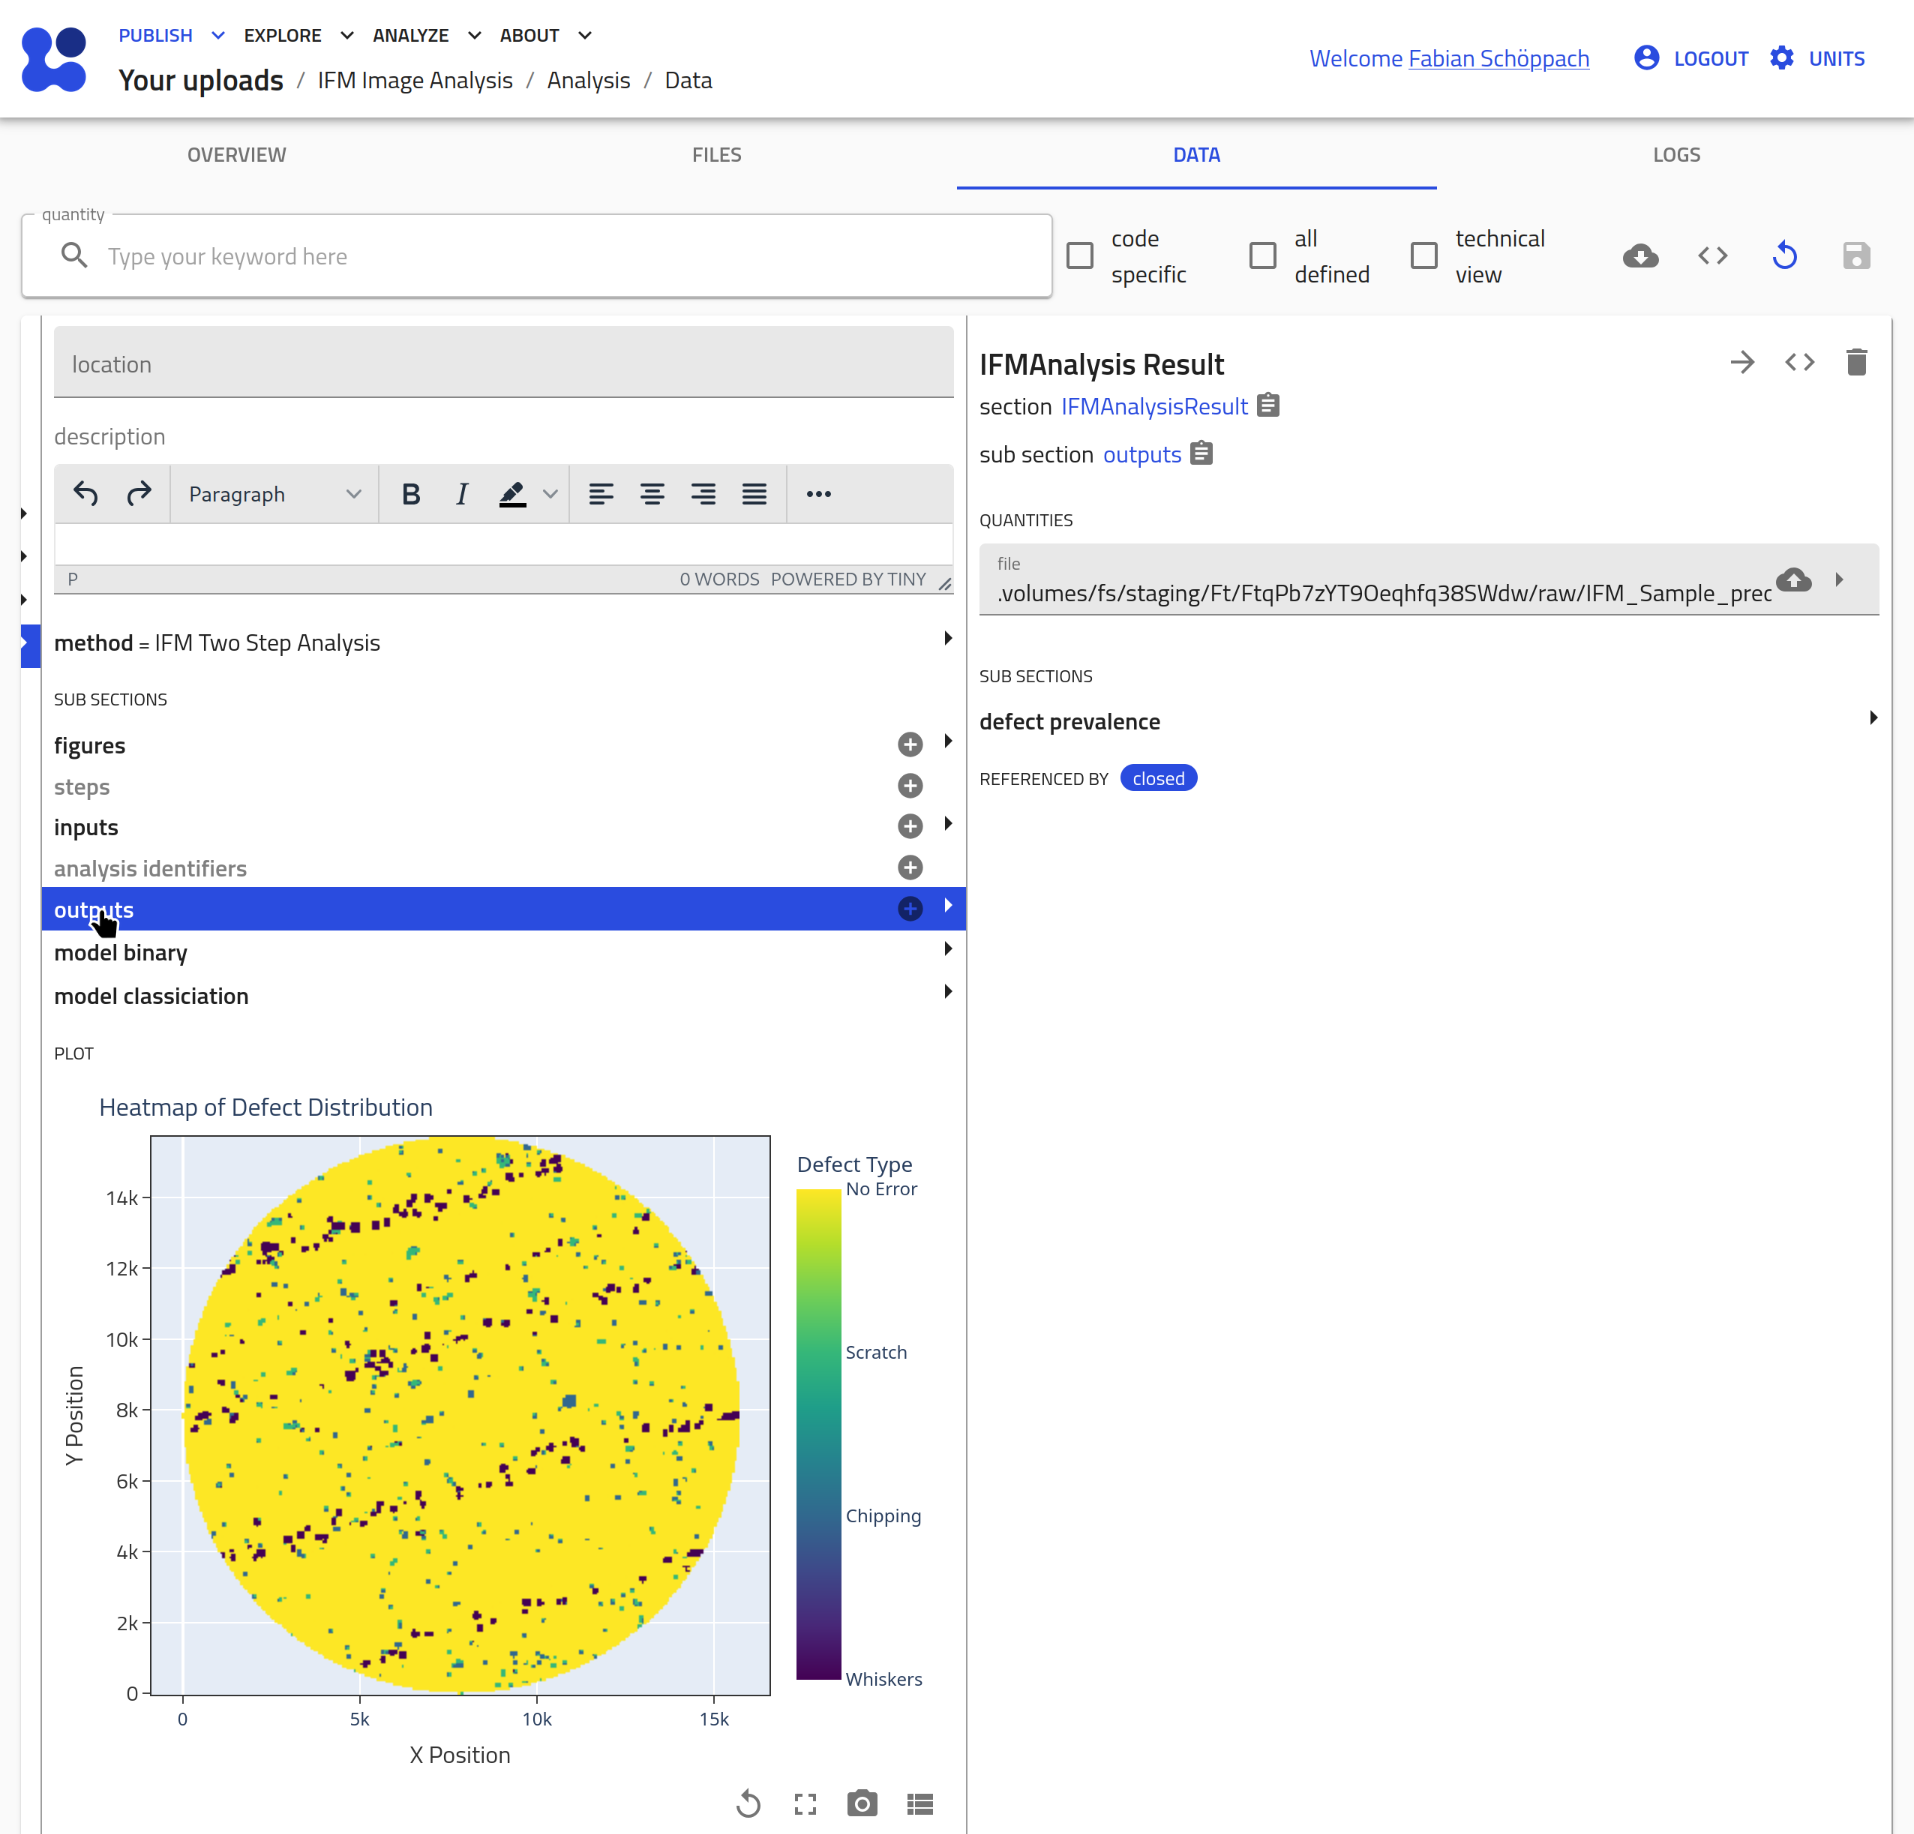 From these results, a heatmap of the spatial distribution of detected defects is generated, and the prevalence of classified defects is calculated.